How to - Create a One Way Image for a Portal in Blender to Dungeon Alchemist to use
Build a one-way portal image in Blender — visible from one side, invisible from the other — and bring it into Dungeon Alchemist as a usable asset.
Step-by-step outline
- 1
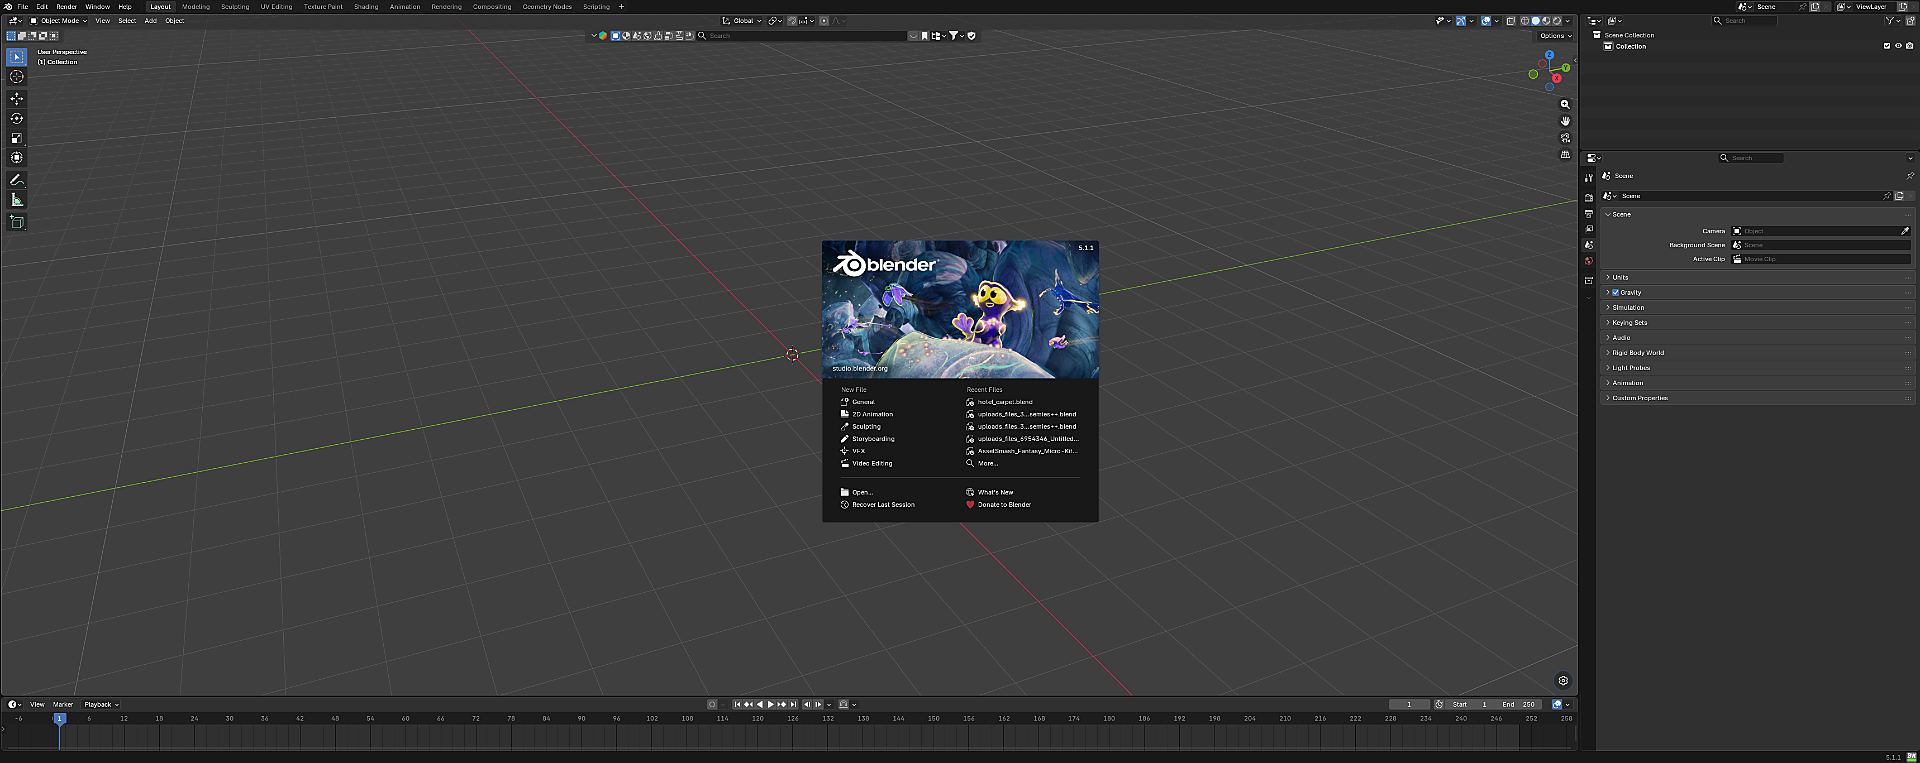
Start up Blender.
Open Blender to a fresh session so you're starting from a clean slate.
- 2
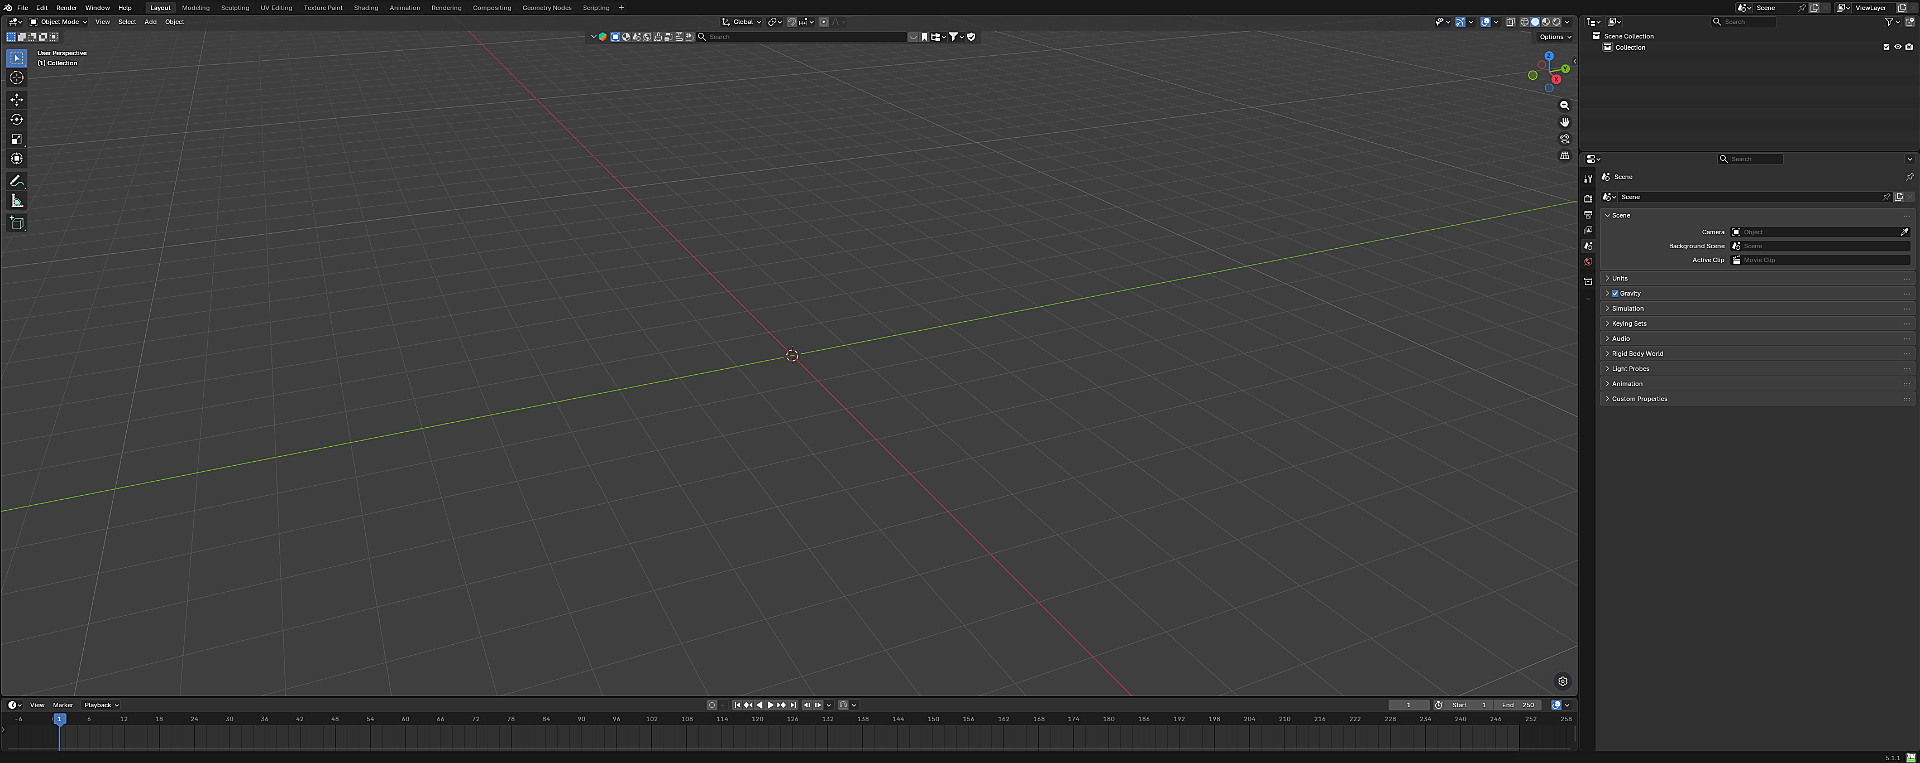
Click anywhere in the Blender desktop to remove the splash screen.
A single click on the viewport dismisses the splash screen and gives you a clean workspace.
- 3
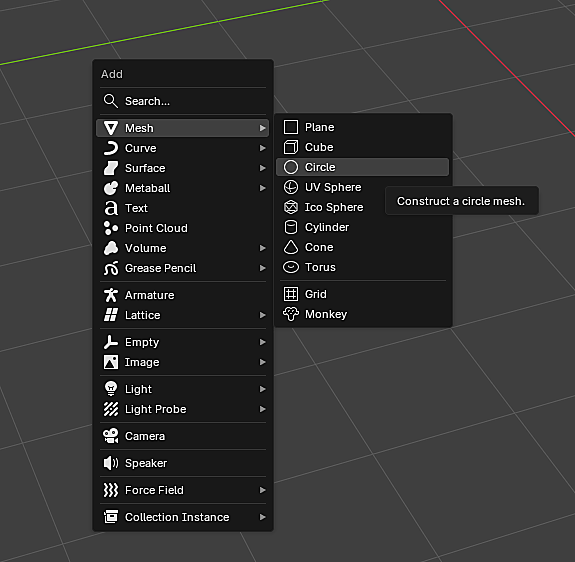
Hold down Shift and A
You will get a pop-up like you see here. Choose Mesh, then Circle, and left click.
- 4
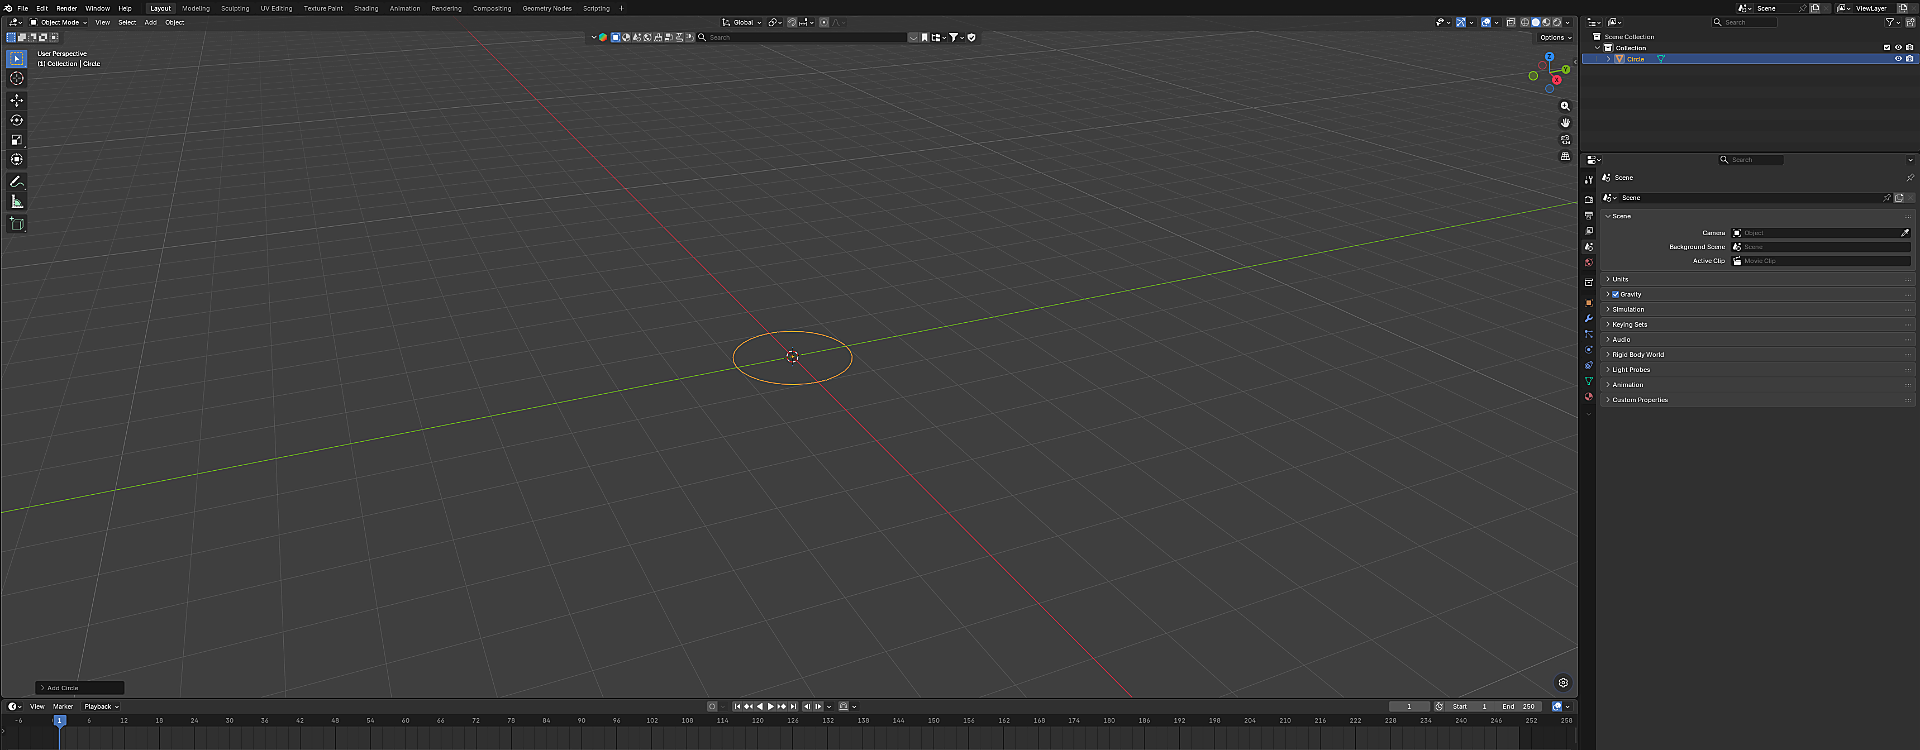
There will be a circle outline in orange laying on the grid like area of Blender.
This is the new circle mesh you just added, selected and ready to work with.
- 5
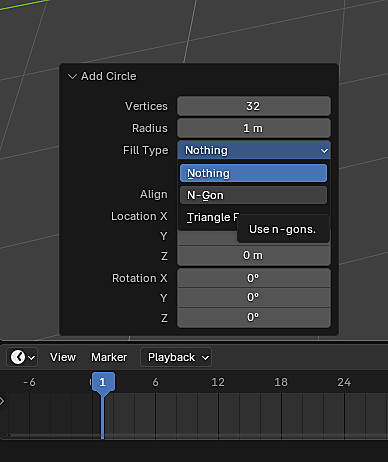
Set the circle's Fill Type to N-Gon.
Select the little box at the far left bottom of the screen. When you click on it you will see some options you can change and choose. Select Fill Type and choose N-Gon. This will fill your circle with a mesh. If you do not do this all you will have is a circle formed from a line.
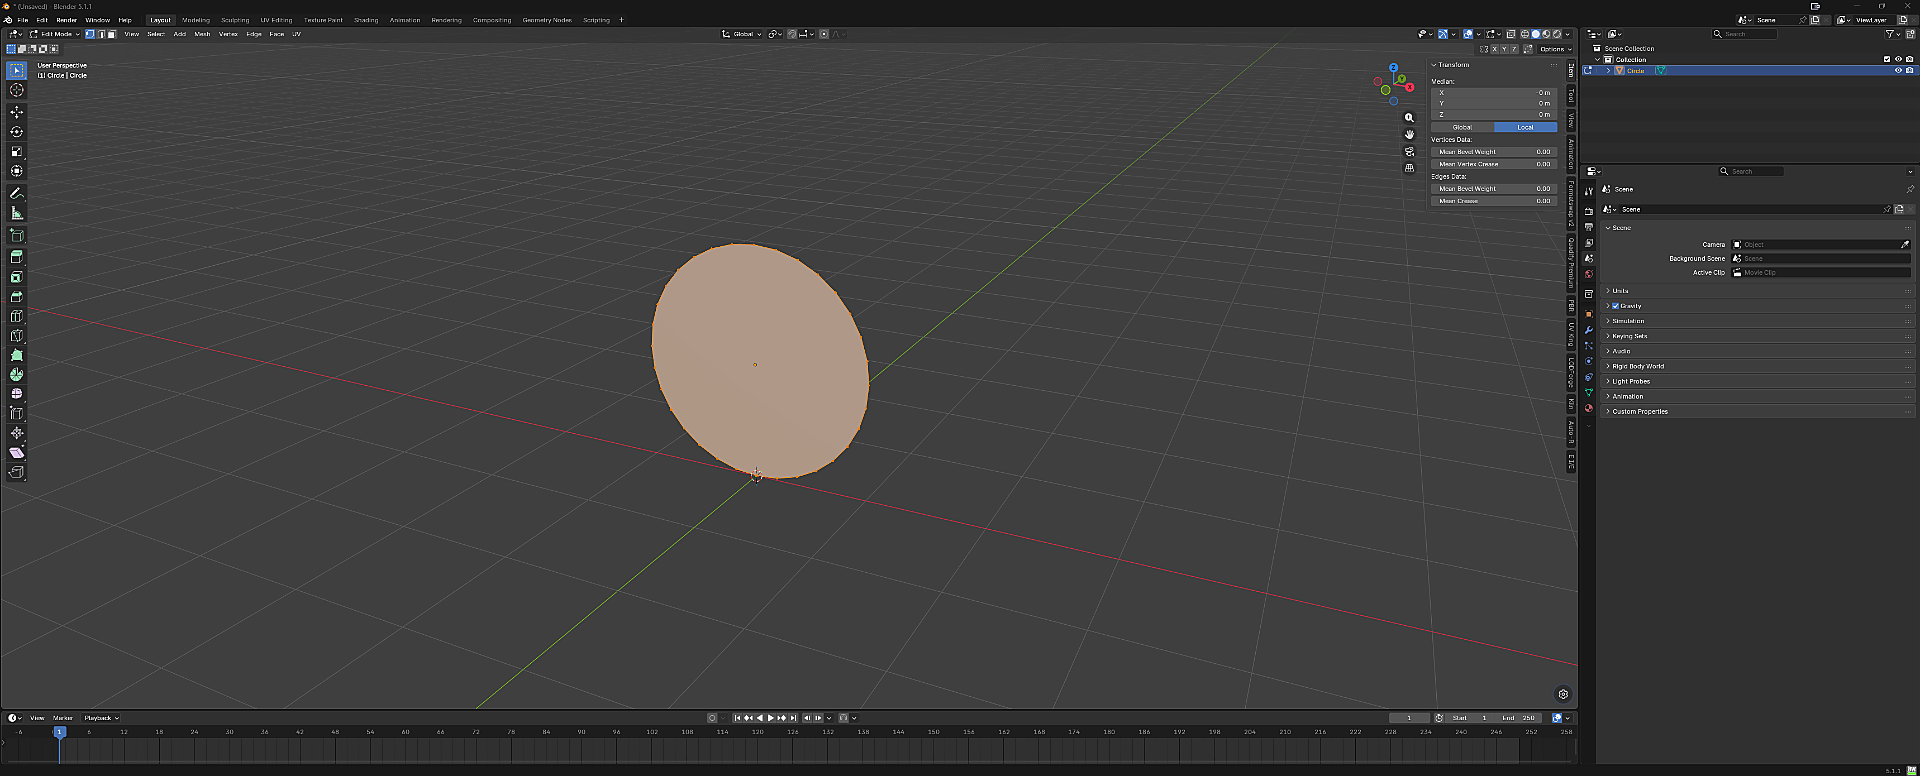
- 6
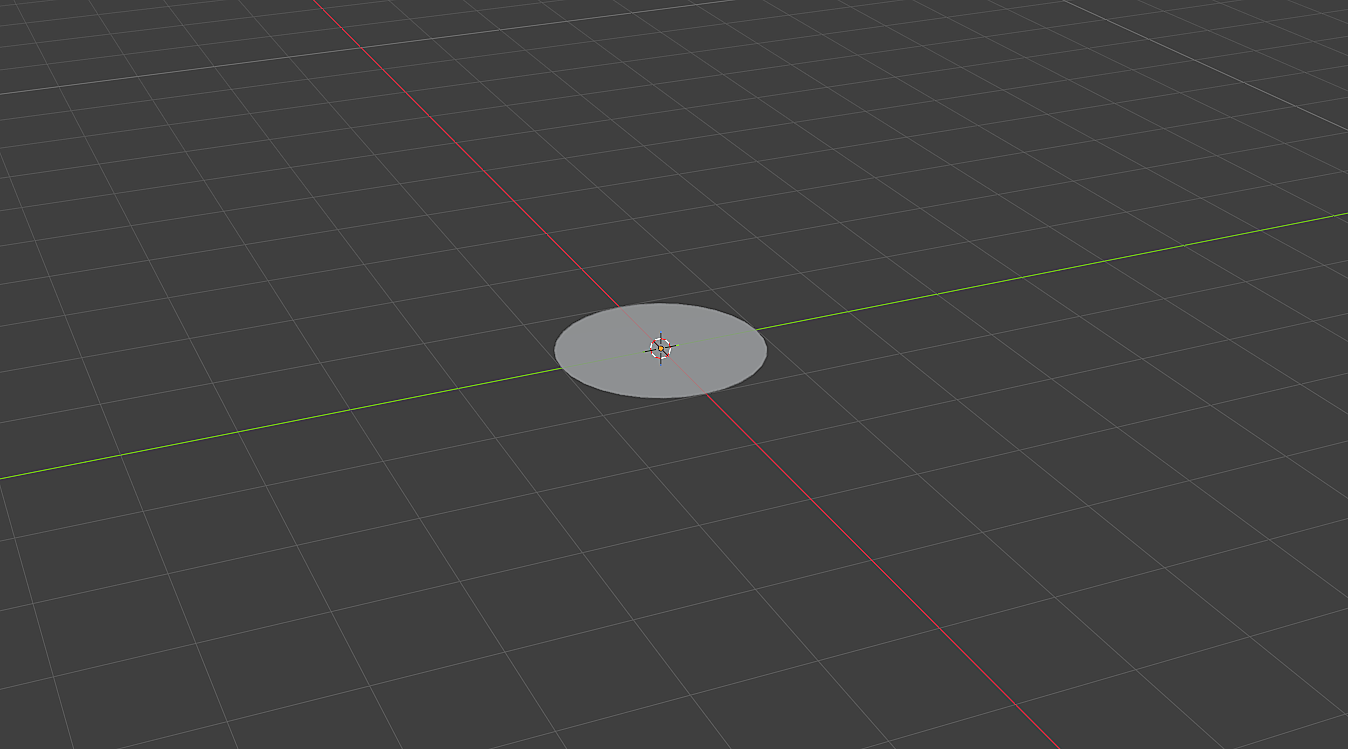
Your circle is now filled.
Once you have clicked on N-Gons, your circle will now look like the one in the image.
- 7
Rotate the circle to stand vertically.
Next, we will need to rotate the circle so it is standing vertically. If you do not do this then when you import into the Asset Importer of Dungeon Alchemist it will come in laying flat. - 8
Open the N-Panel.
To rotate the circle up, press the letter N on your keyboard. This will slide open what is called the N-Panel on the right side of the screen as seen here.
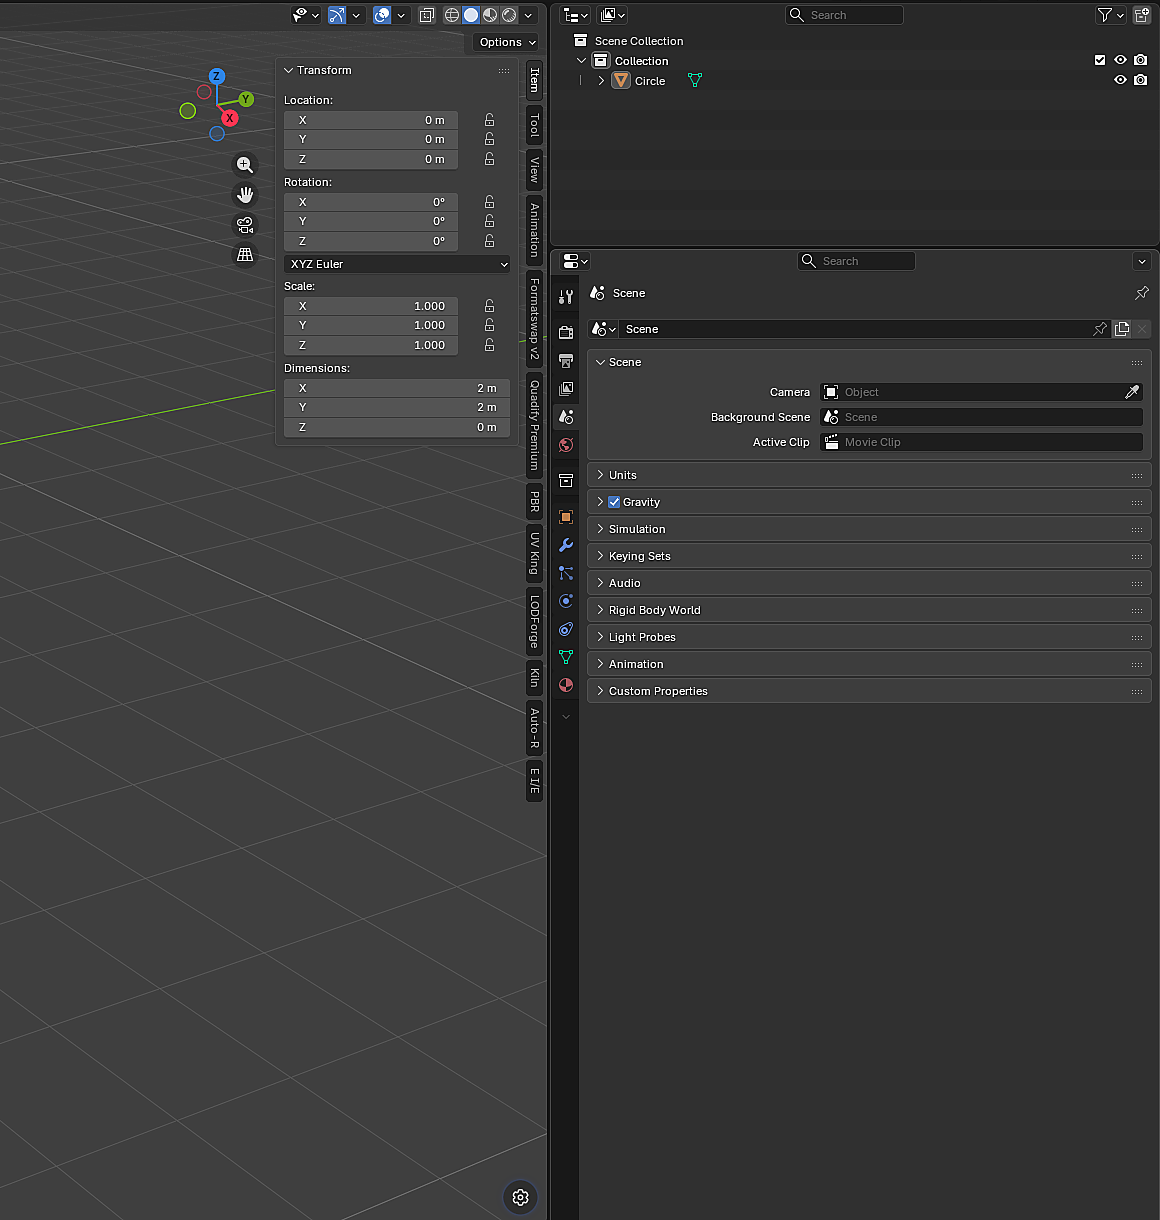
- 9
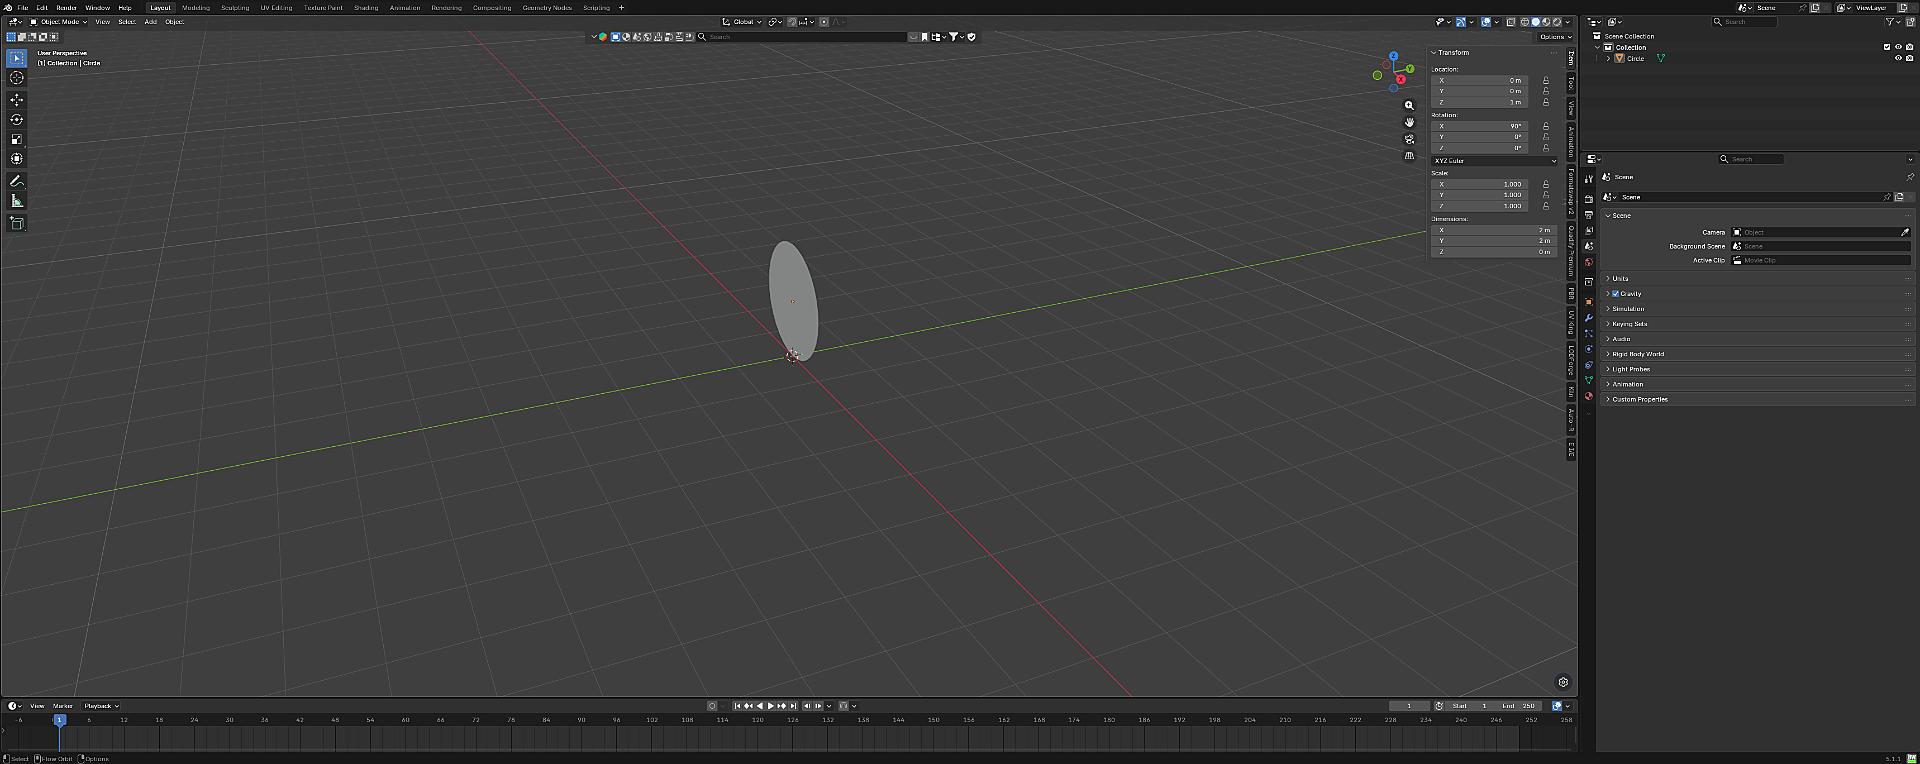
Rotate the circle 90° on X.
Left click in the X box of Rotation. Type in 90 and hit Enter. When you do, your circle is now standing vertically.

- 10
Raise the mesh to sit on the grid.
Adjust your circle mesh so its edge is level with the grid. To do this, click on Z in the Location box and enter 1. This will bring the mesh even with the bottom of the grid. This way, when you import into the Asset Importer of Dungeon Alchemist, it will be level and sitting on top of the grid.
- 11
Switch to Edit Mode with TAB.
Next, we need to tell Blender that we want only one side of this mesh to show an image. To do this, press the TAB key. This will change your layout from Object Mode to Edit Mode. When you do, your mesh will be selected as seen in the viewport.
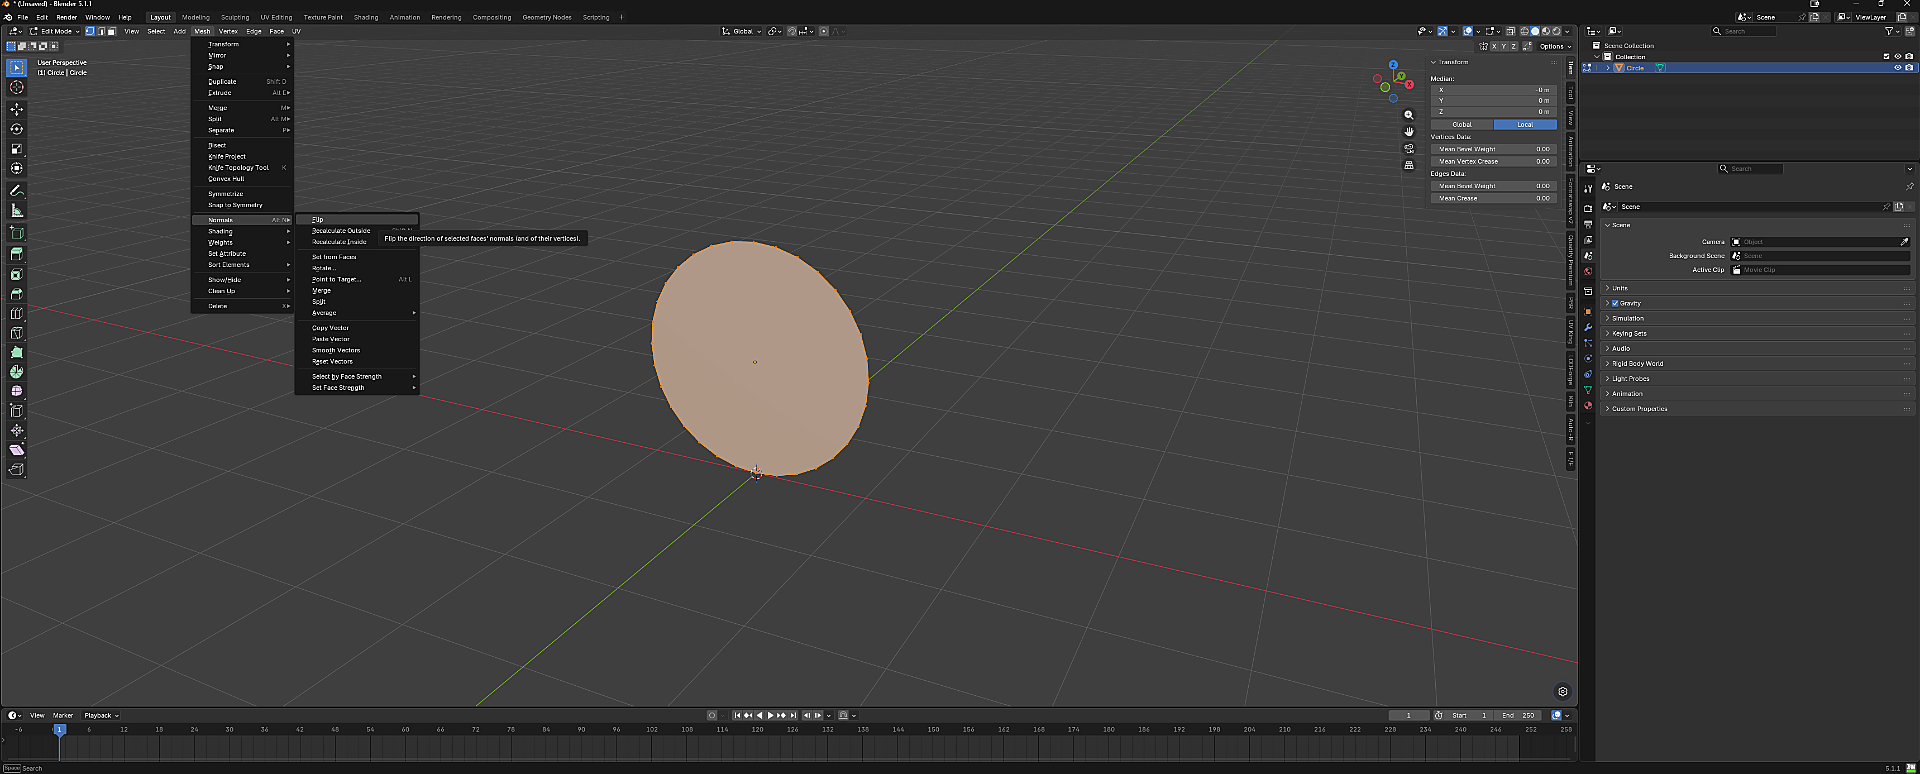
- 12
Flip the normals on the mesh.
Select Mesh → Normals and click on Flip. This will tell Blender to have one side of your mesh display your image (normal).
- 13
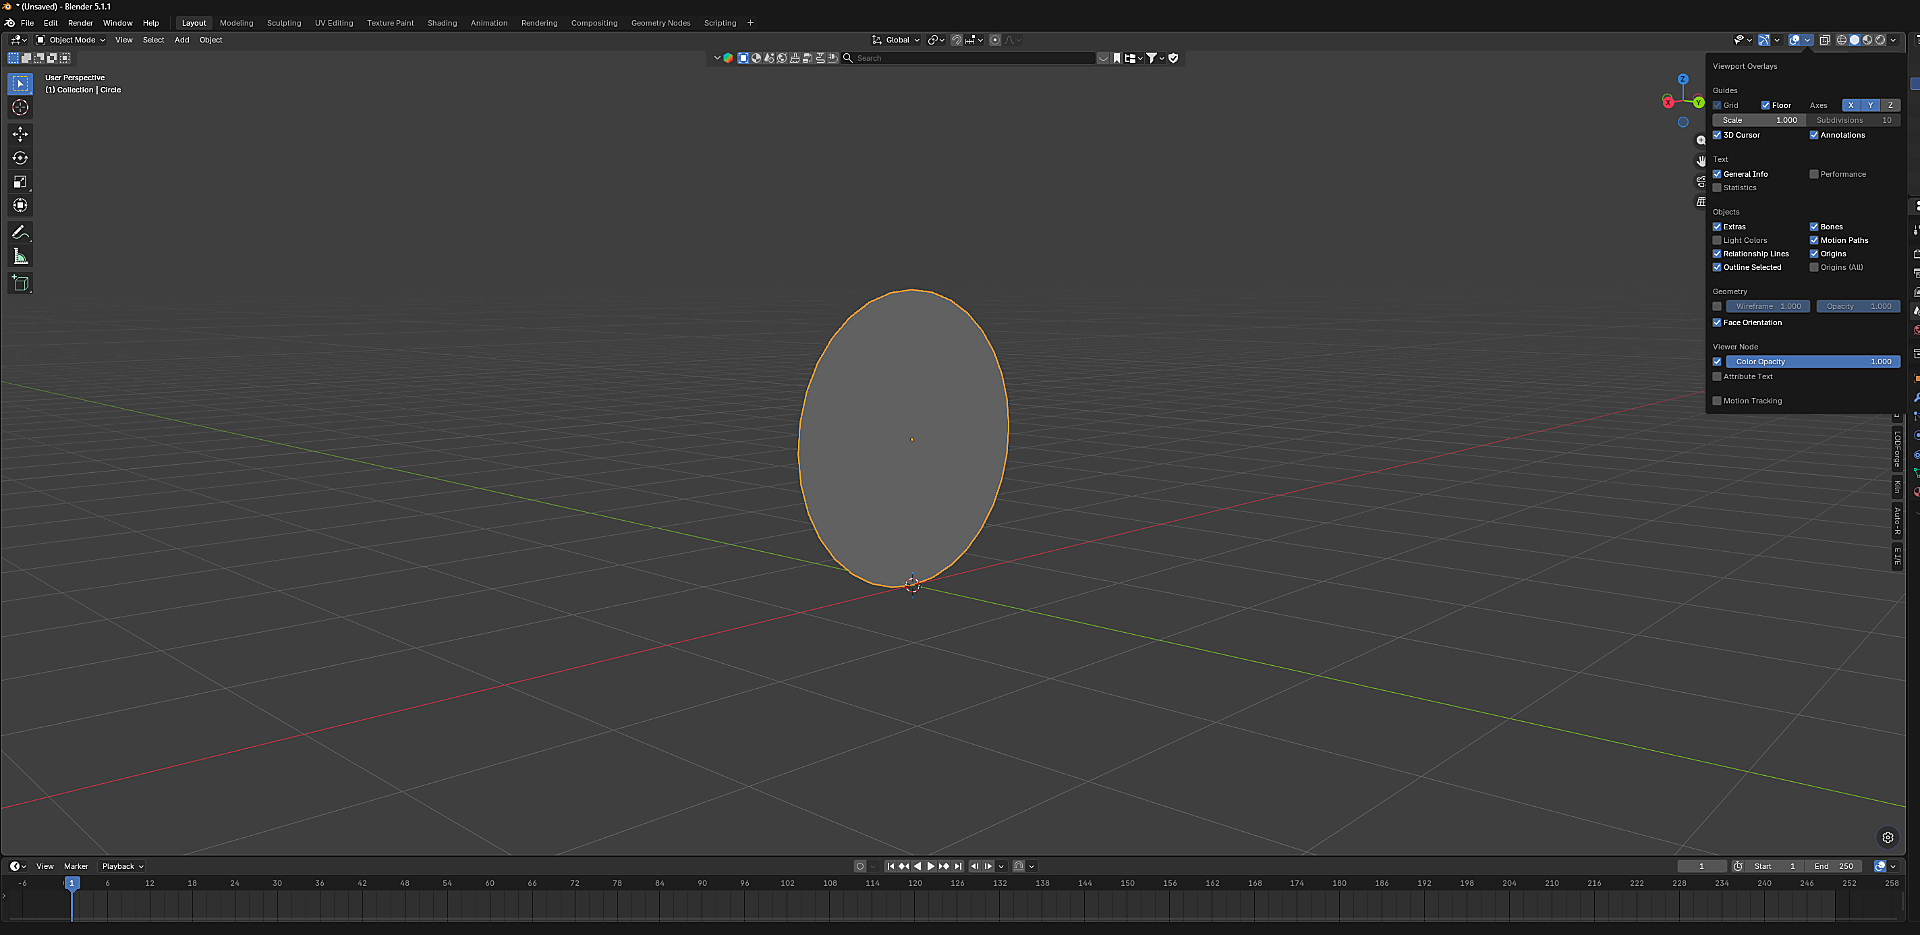
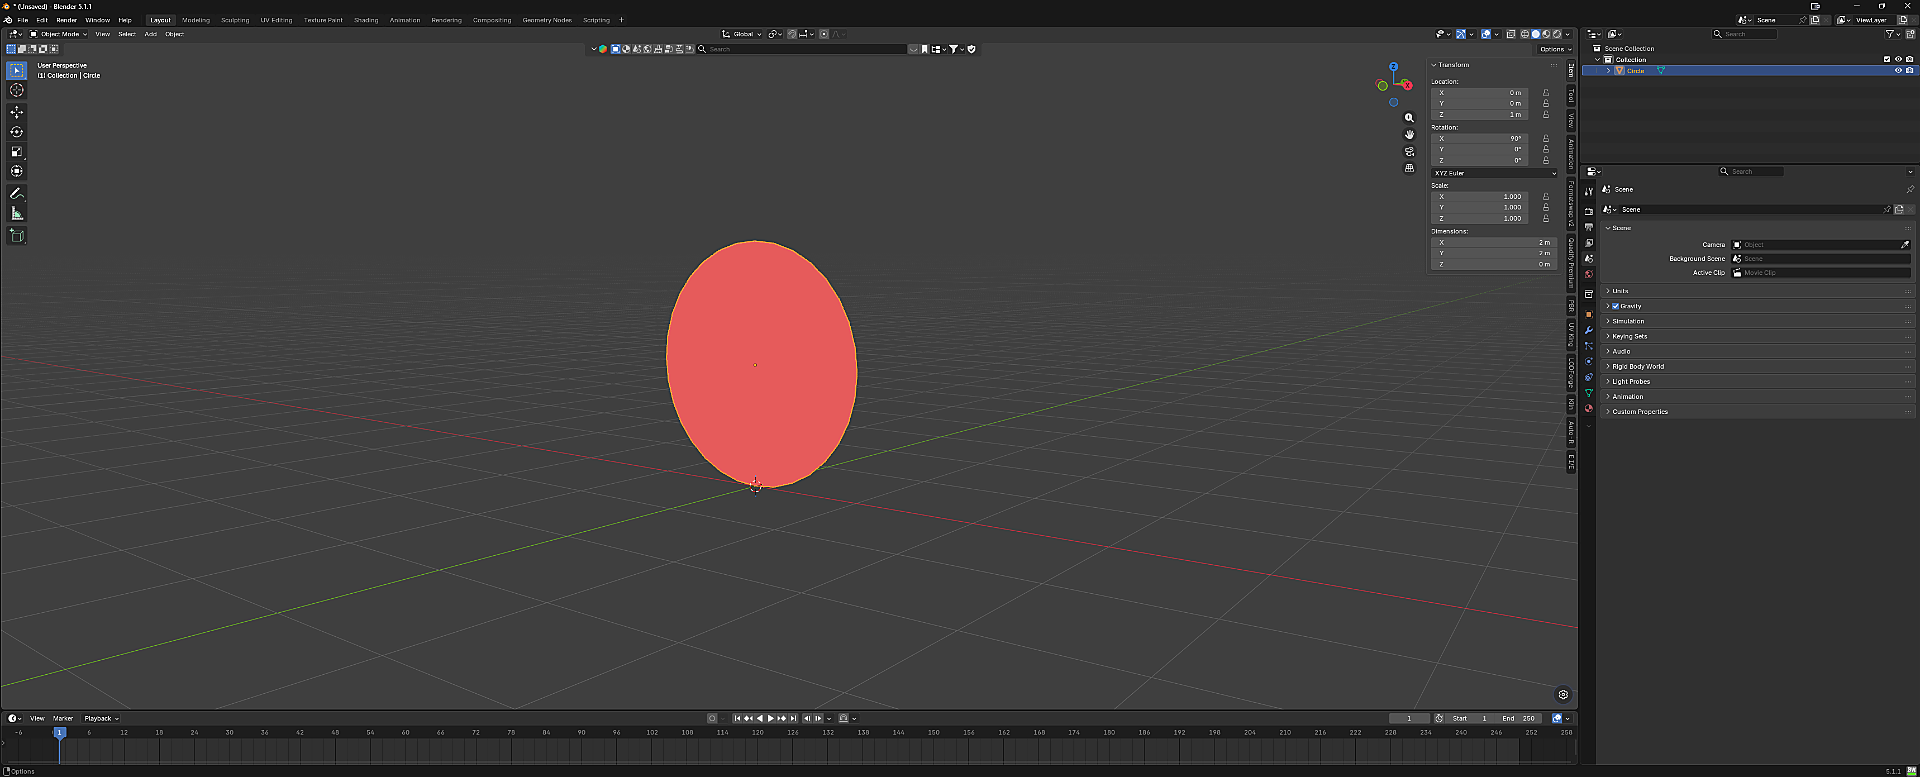
Enable Face Orientation overlay.
Press your TAB key to go back to Object Mode. In the upper right corner you will see some icons. Press the down arrow next to the symbols that look like two balls (one solid, the other an outline). Look for Face Orientation and place a check mark. When you do this you will see your mesh have a gray side and the other side will be red.
- 14
Open the Shading workspace.
Let's add an image! To do this, select the Shading menu at the top of Blender. Your display will look like this.
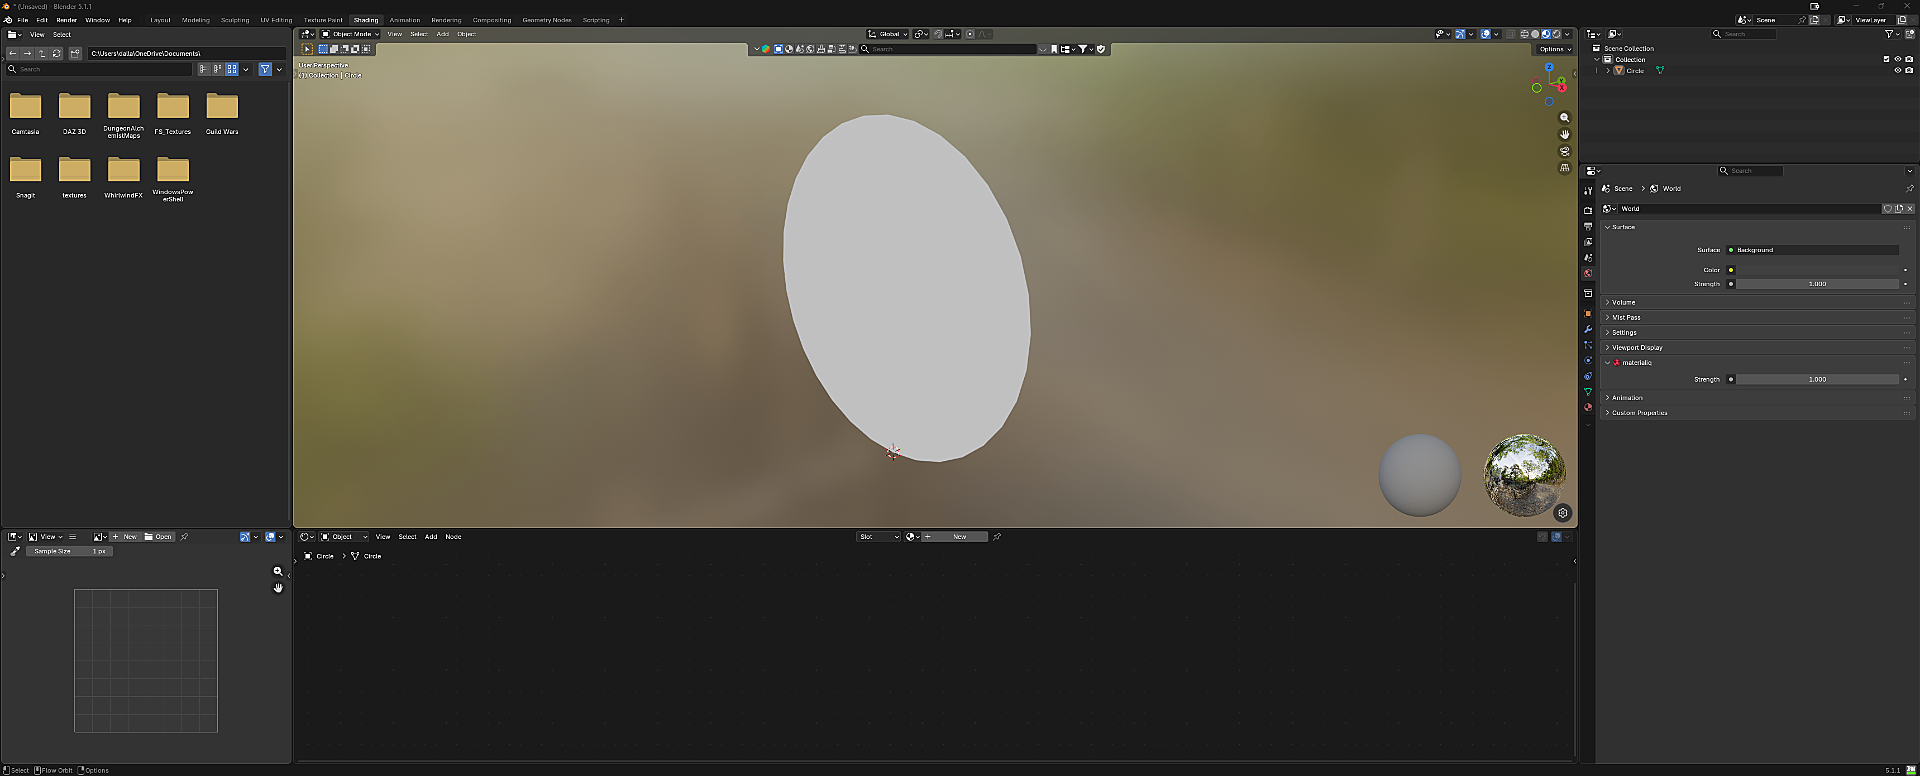
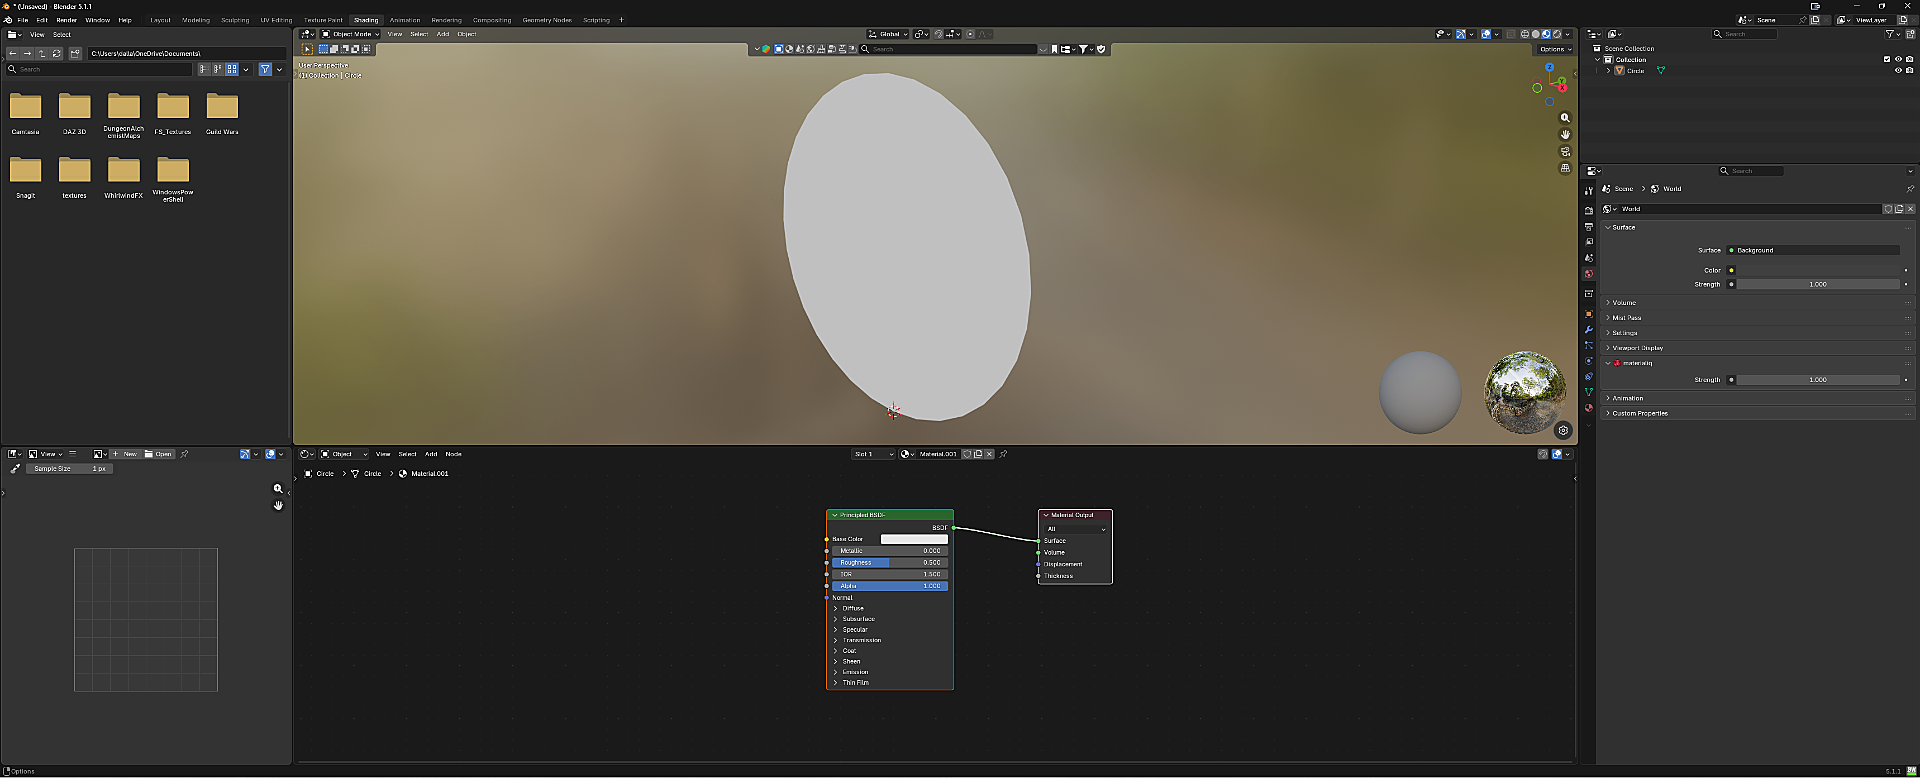
- 15
Create a new material.
Select the New button below your image. When you click on it, it will create a default Principled BSDF layout.
- 16
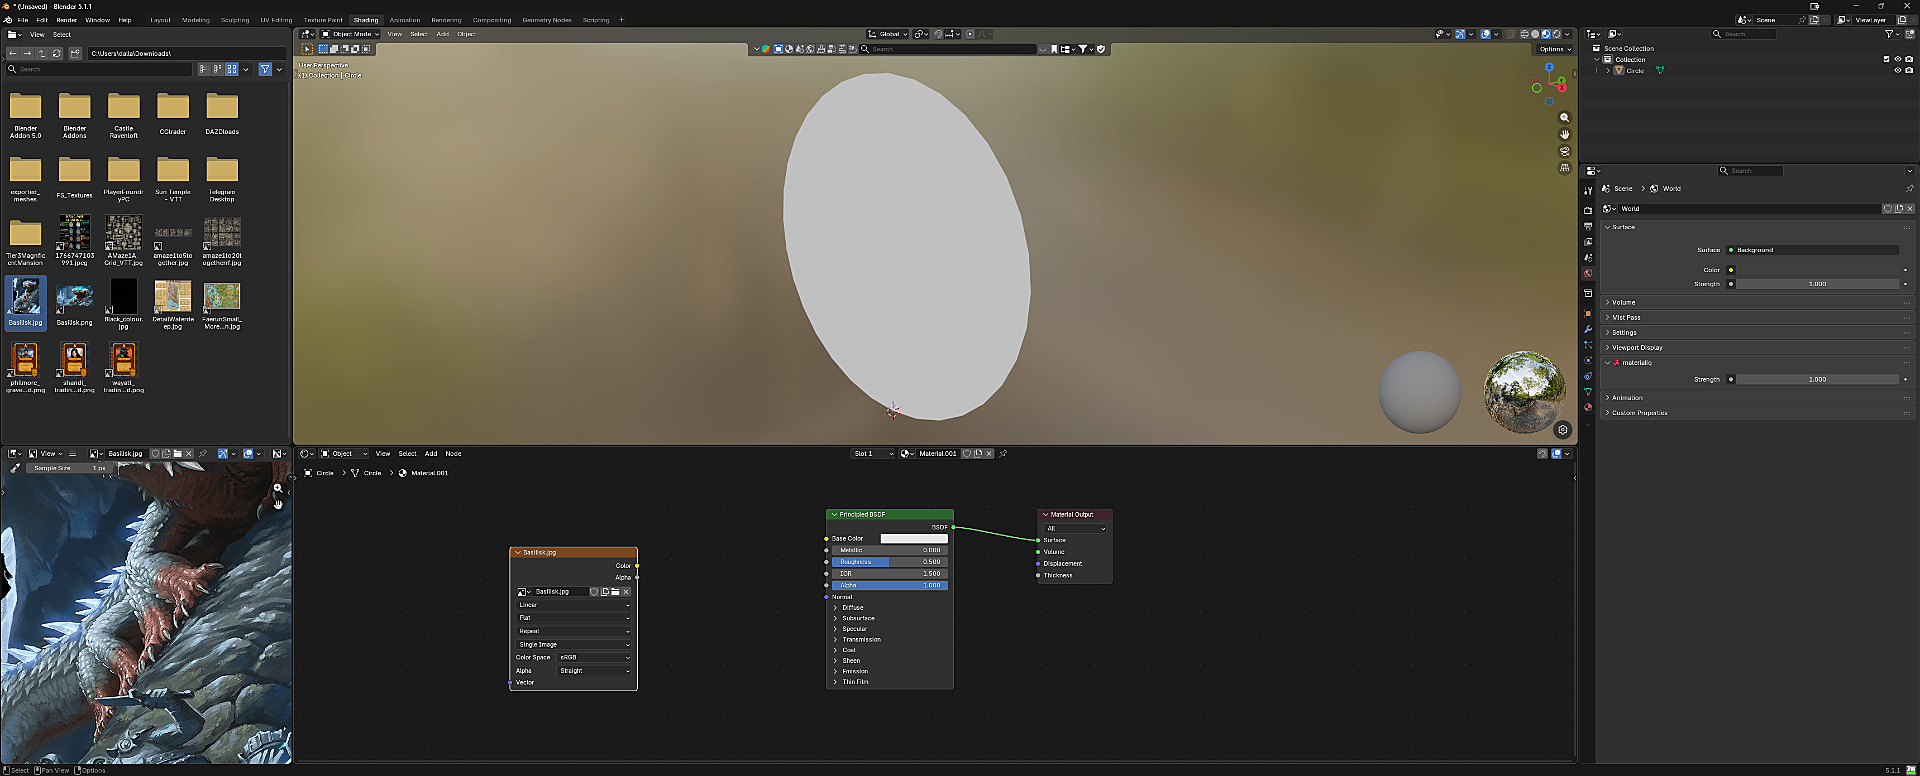
Drag an image into the shader editor.
In your view box to the left of your mesh you will see folders — this is your drive. Find an image you would like to use, then click and drag the image down to the viewport below your mesh image and drop it in there. When you do, it will look like this.
- 17
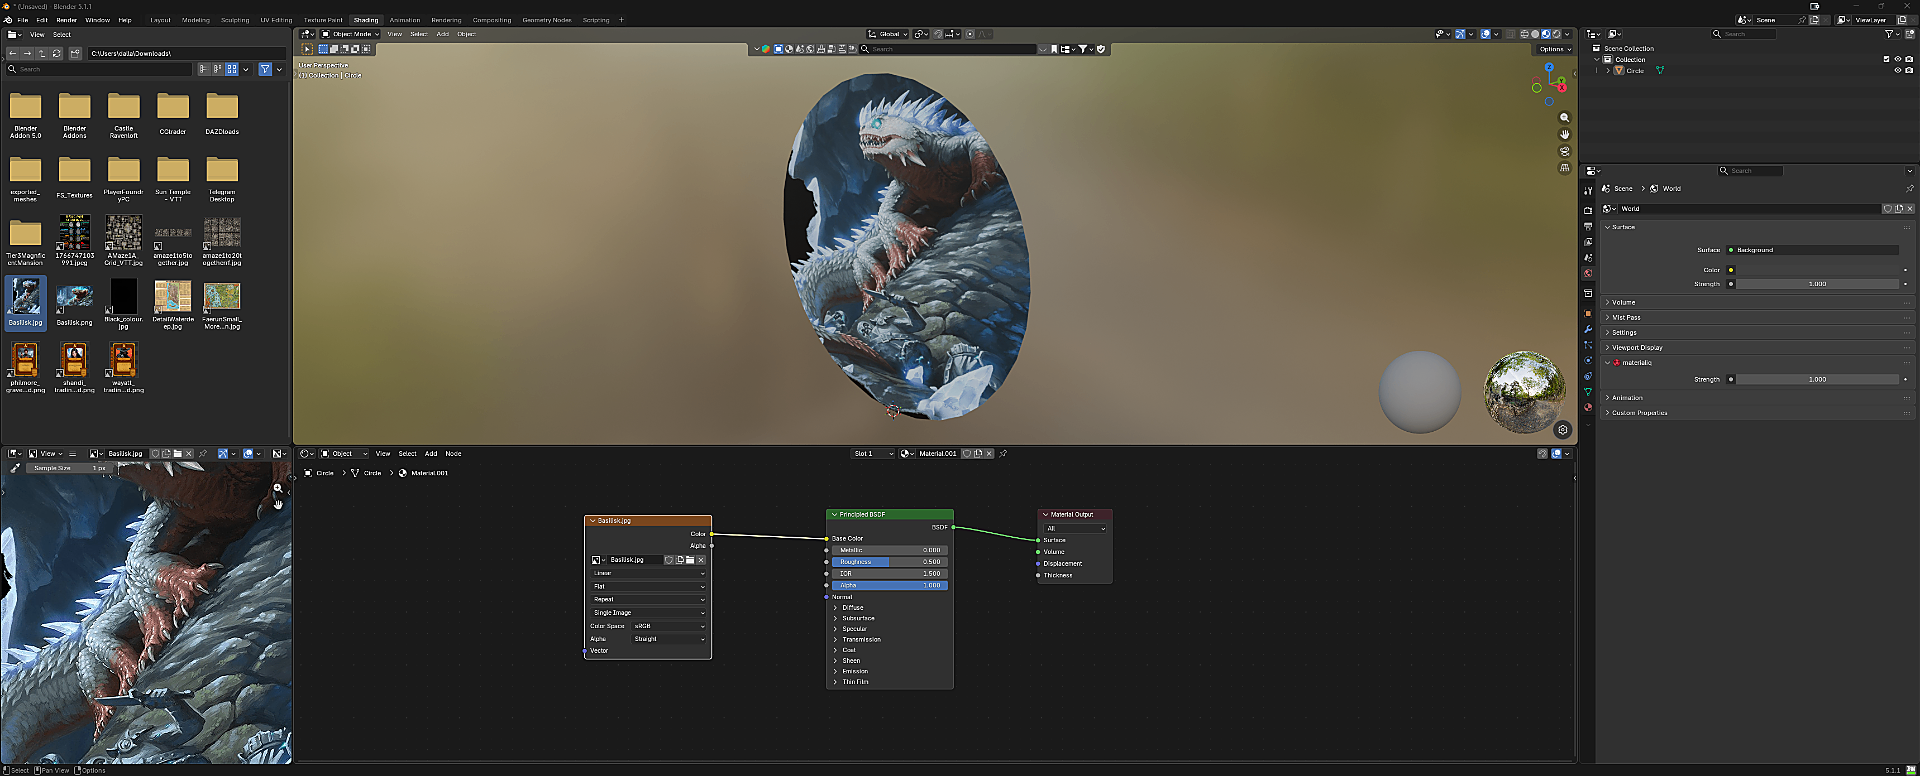
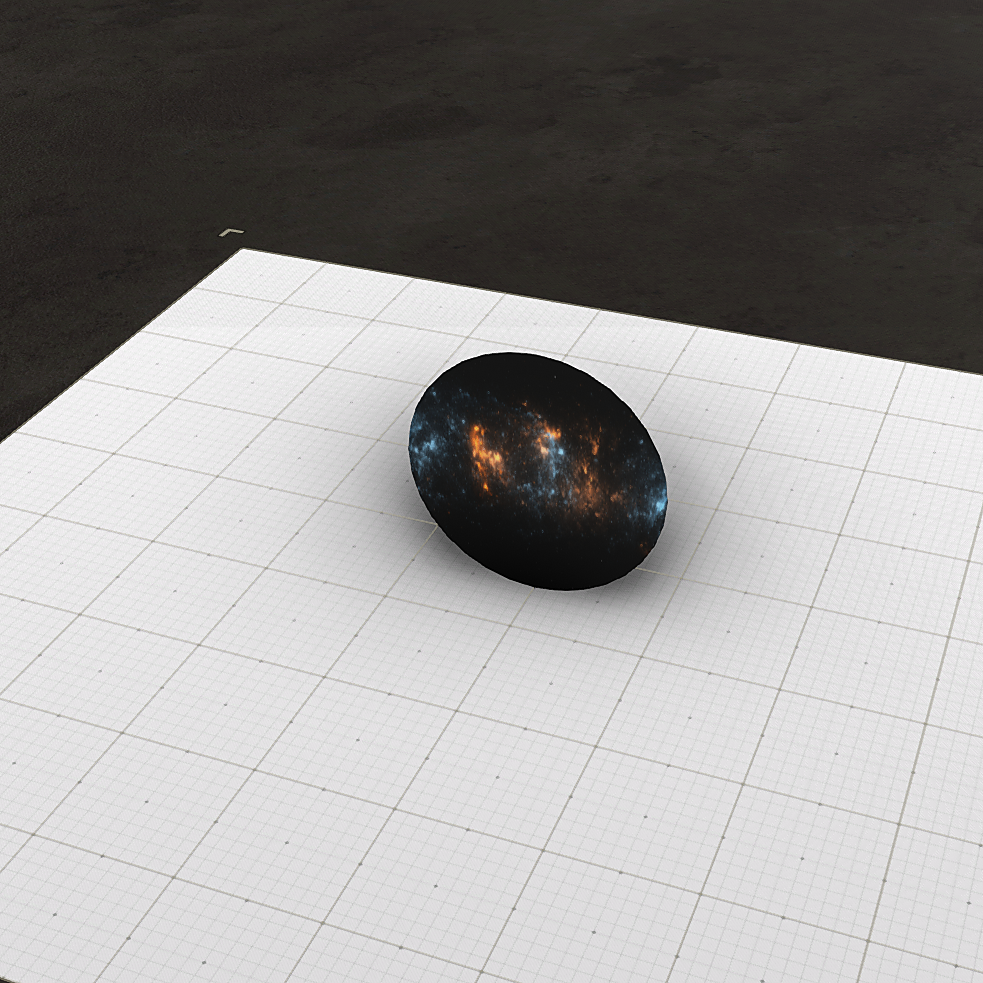
Connect the image node to Base Color.
Connect your image (this is called a node in Blender) to the Base Color in the Principled BSDF. Place your mouse over the Color dot of your image node and click and drag to the Base Color connection. This will create a connection like this.
- 18
Mirror the image if it faces the wrong way.
If your image is not facing the correct way (right or left), you can easily correct this. Click on Object → Mirror and select X Local to switch from left to right and back again. You can also select Y Local to flip the image up or down.

- 19
Export the mesh as FBX.
Once you have your image in place, we will now export. Make sure your mesh is selected (an orange selection will surround it). Click on File → Export and choose FBX. This is important!
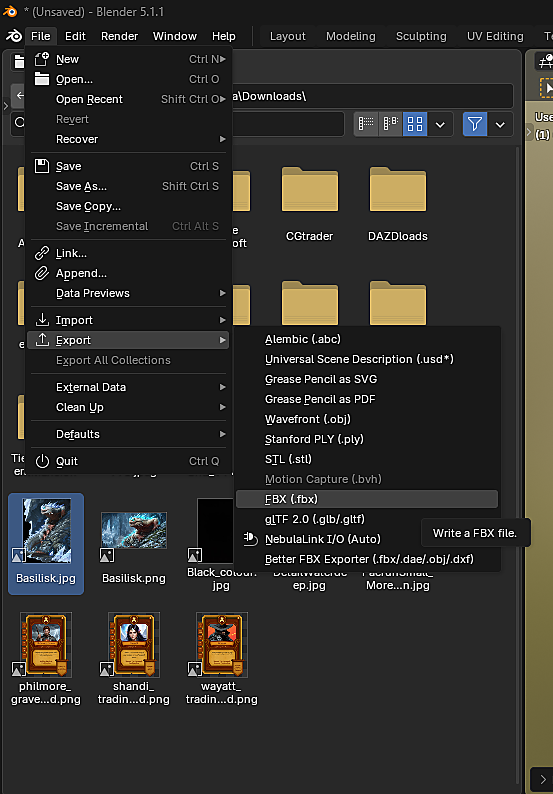
- 20
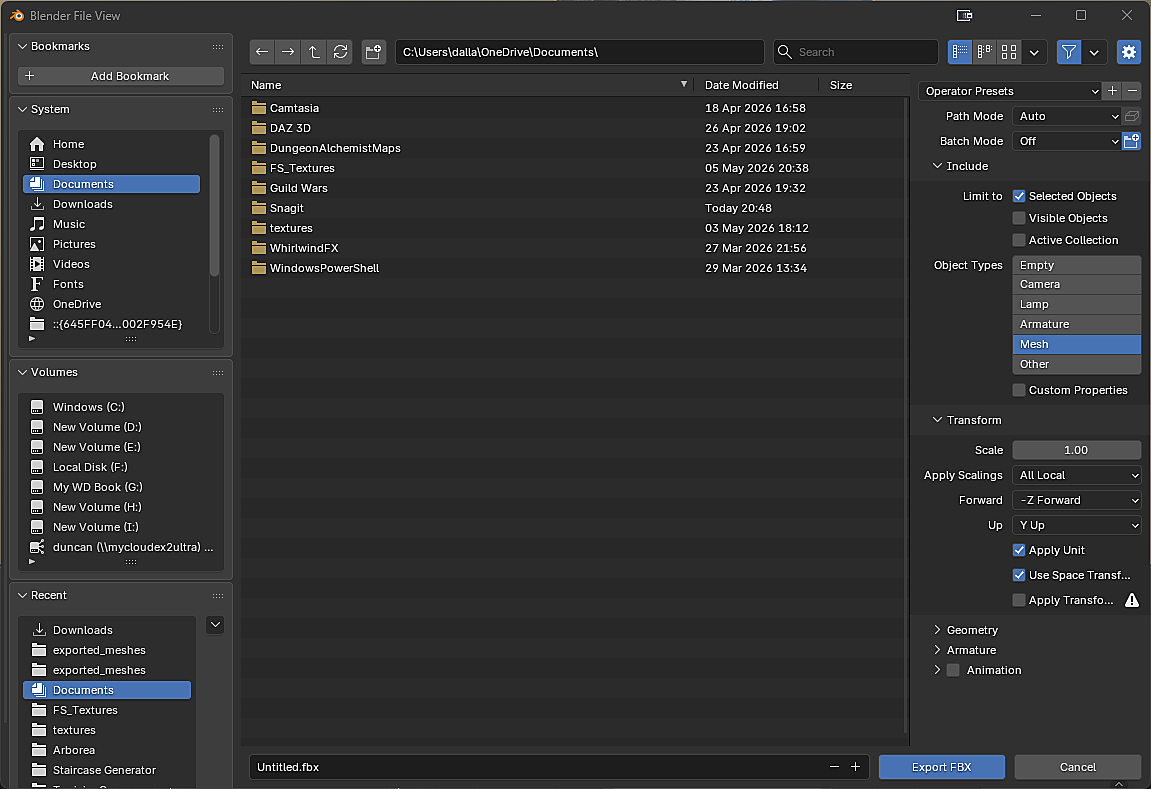
Configure FBX export settings.
You will be presented with a new pop-up screen. Select where you wish to save your file. Make sure Selected Objects is checked. Make sure only Mesh is selected under Object Types, and uncheck Animation. Then click Export FBX.
- 21
Import the model into the Asset Importer.
Open the Asset Importer in Dungeon Alchemist. Per the instructions found in the Asset Importer wiki, import your model. Follow the instructions as per the wiki.
- 22
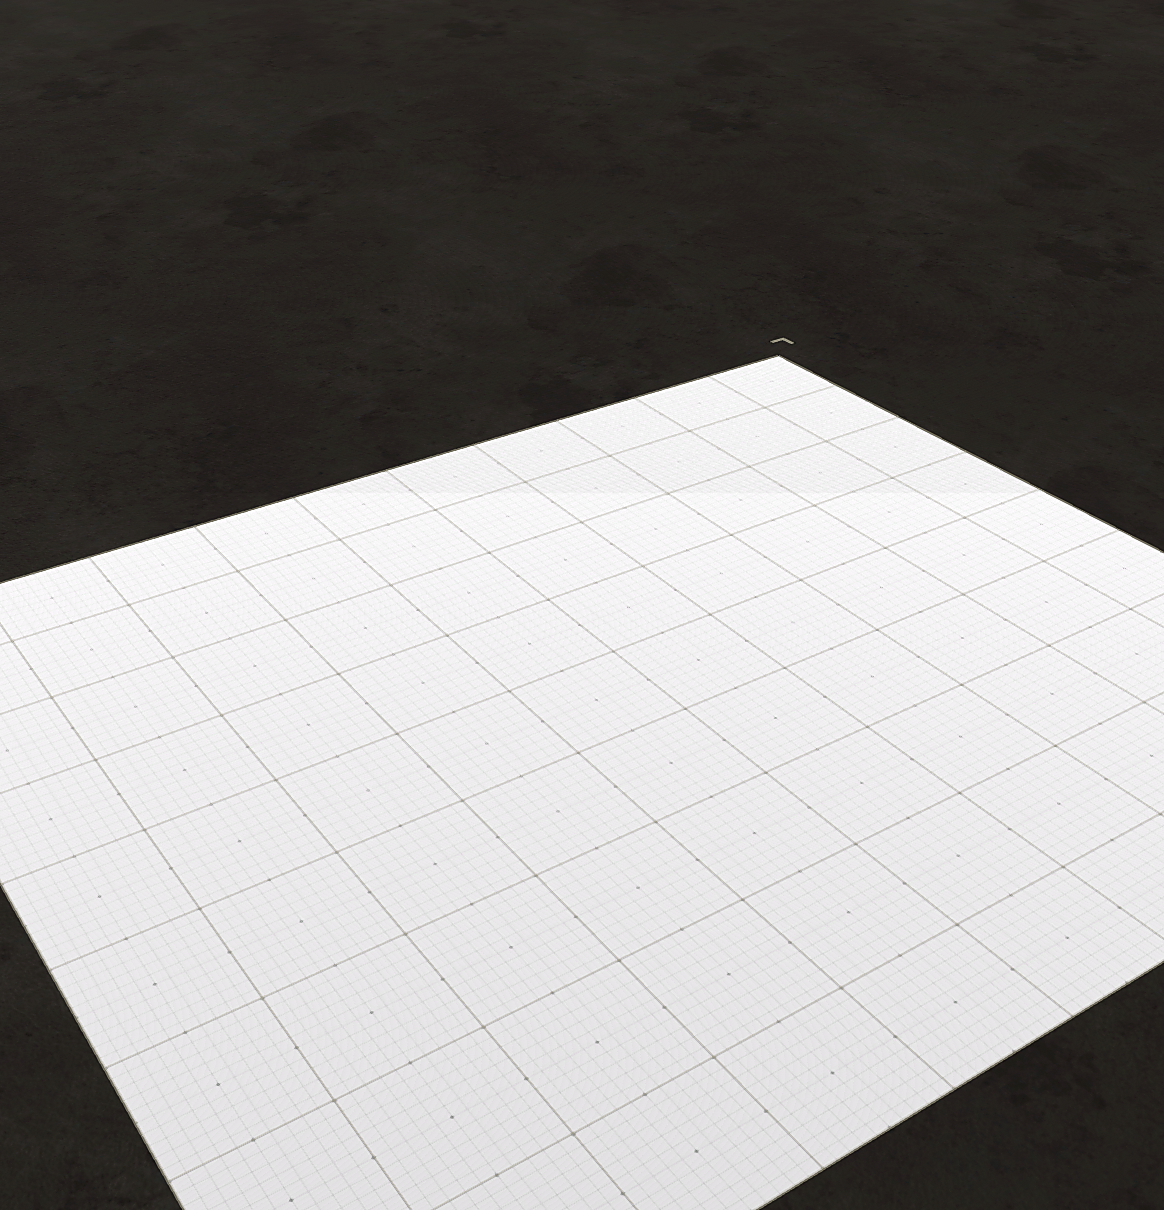
That's all there is to it!
Now you know how to create a mesh with an image on one side and "invisible" on the other. One very good use is to put the image in a picture frame that covers a secret area — one side shows the picture to your players, but on the opposite side, something nasty may be watching them!
Pro tips
- Keep the image square (e.g. 1024×1024 or 2048×2048) for cleanest scaling in Dungeon Alchemist.
- Use PNG with a true alpha channel — JPG will lose transparency.
- If the back side still shows faintly, double-check Backface Culling is enabled in the material.