Asmodeus LoungeHow-tos, documentation, images, and video tutorials for importing assets into Dungeon Alchemist from Blender correctly.
Projects

How to - Import Assets within acceptable size limits

A guide to preparing and importing assets into Dungeon Alchemist while keeping them within acceptable size limits.

The Issue

With the addition of Dungeon Alchemist's Asset Importer, it has allowed anyone to import 3D models. Unfortunately, a vast majority of these users blindly import the 3D models without any knowledge of the size (megabytes) and the detrimental issues this causes for those who download these models from the Workshop to use in their maps. There tends to be three major sites most models are downloaded from: CGTrader, Sketchfab, and Turbosquid. Now, with the addition of AI sites like Meshy and many others, this has added to the potential for issues.

Dungeon Alchemist Recommends

According to the Dungeon Alchemist developers (devs), they have recommended a top asset import size of 25 megabytes. However, this is not an absolute but a recommendation. With this being said, let's get into the ways you can reduce an asset (model) size so it comes in under, if not close to, the recommended 25 MB size.

Three Common Methods for Reducing Model Size in Blender

  1. Texture Compression - The ability to adjust the texture size of an image from 8k (8192x8192), 4k (4096x4096), 2k (2048x2048), 1k (1024x1024), 512 (512x512 pixels) and 256 (256x256 pixels).
  2. Decimation - The Decimate modifier in Blender reduces a mesh's polygon (face/vertex) count while aiming to preserve its overall shape, acting as a powerful tool for optimization, creating low-poly assets, or lowering memory usage. It helps speed up viewport performance and render times by simplifying complex geometry.
  3. LOD (Level of Detail) - in Blender is an optimization technique used primarily in game development to create multiple versions of a 3D model, ranging from high-poly to low-poly.

We will explore all three of these in better detail with how this can help with your Blender model to Dungeon Alchemist.

1. Texture Image Size within Blender

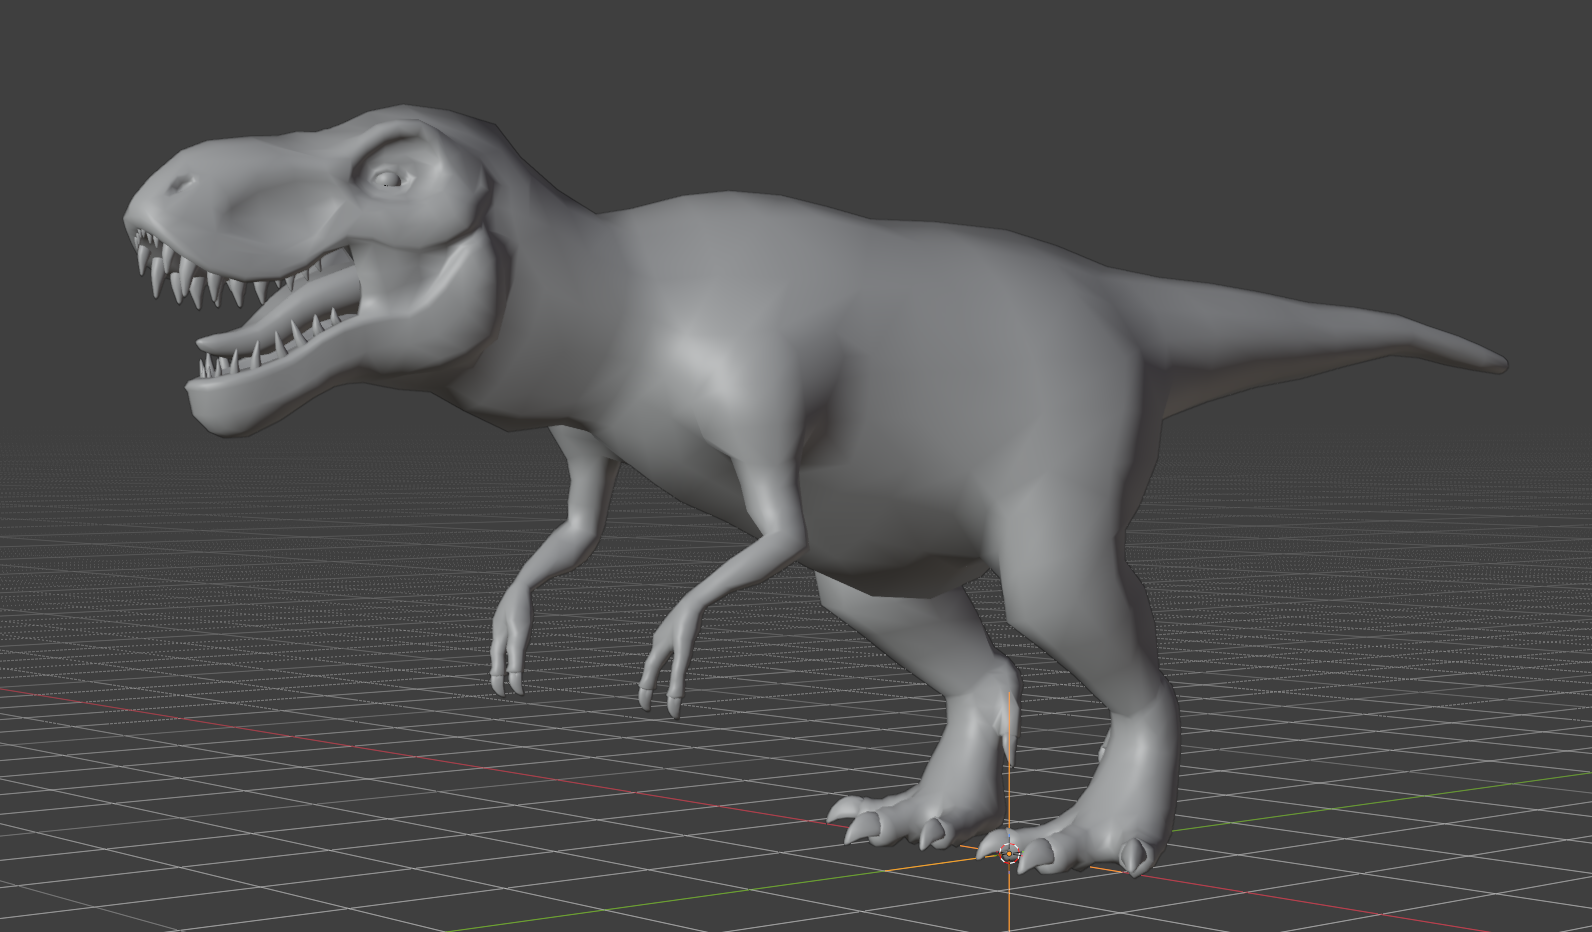
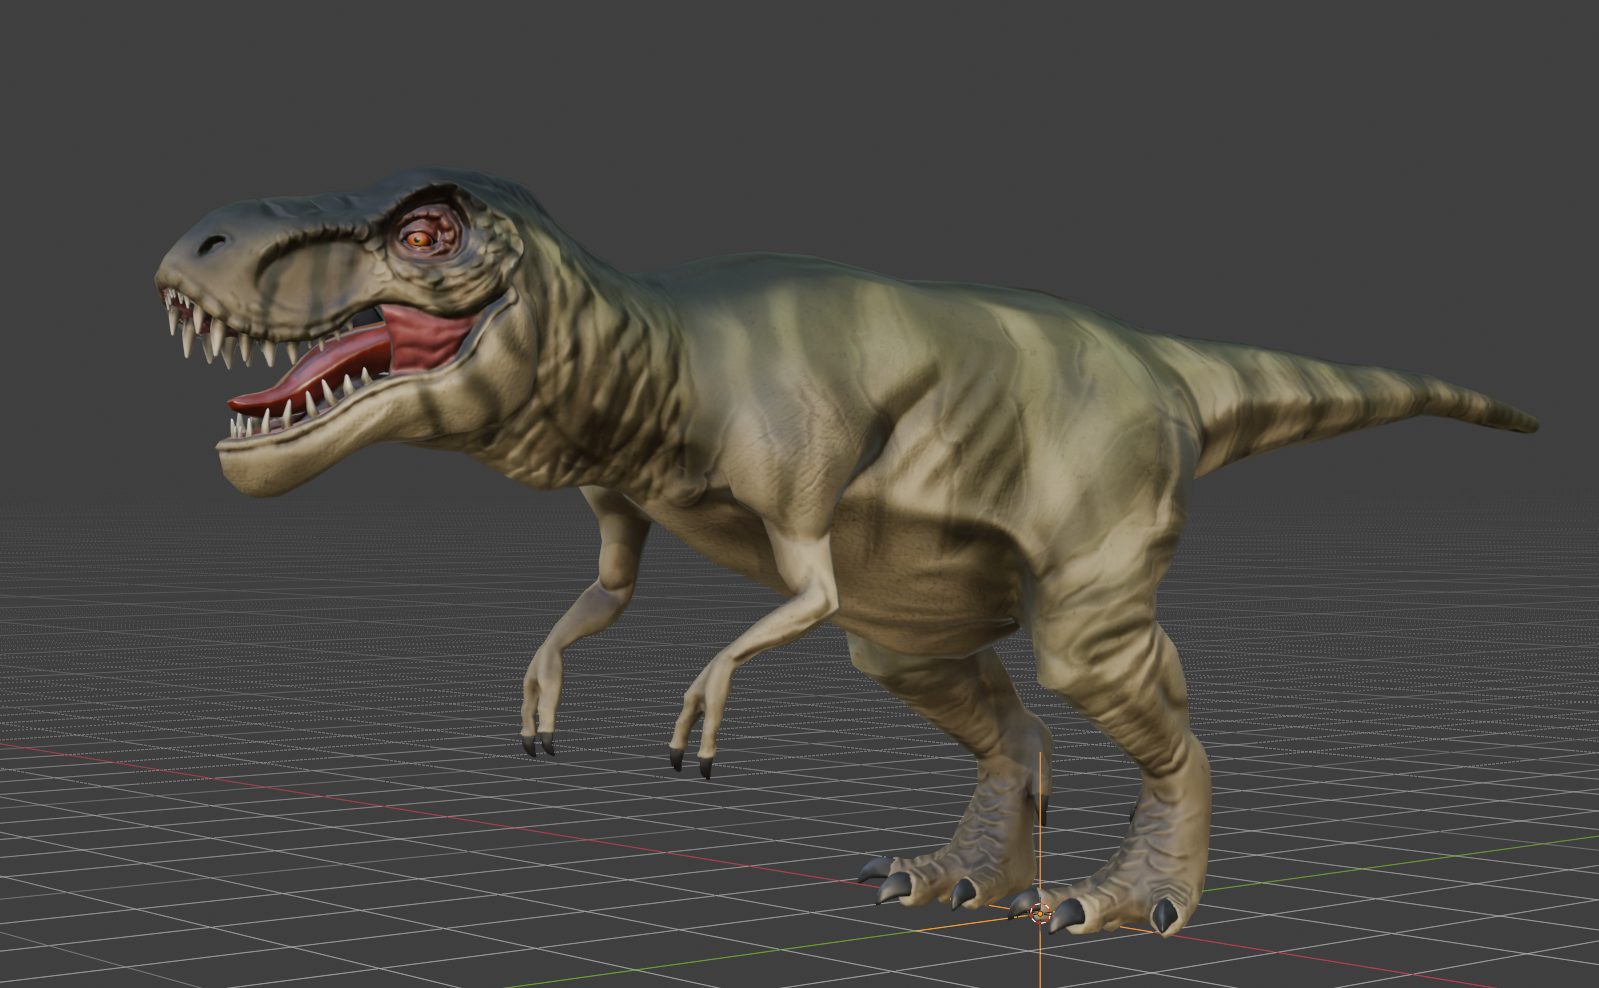
In Blender all models (assets) will have a texture applied to it.

  • A texture is just an image file attached to a mesh (asset)
  • Quite a few meshes have image textures that are usually about 2k on average. For Dungeon Alchemist this is overkill.
  • To help cut down on file size resize your textures down to 1k or 512 preferably.
  • It is preferable to save as a JPEG vs PNG. Converting a 4K PNG to a 1K JPEG reduces the image's total pixel count by (75%) and drastically shrinks the file size.
Mesh without any textures (images)
Mesh with a texture(s) applied to mesh

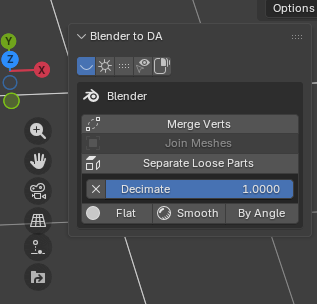
Nightvision's addon has a free texture converter built in.

2. Decimation

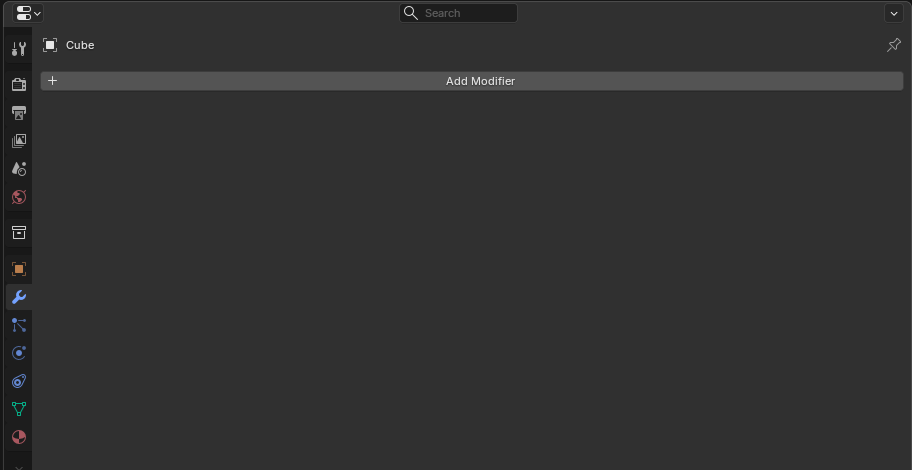
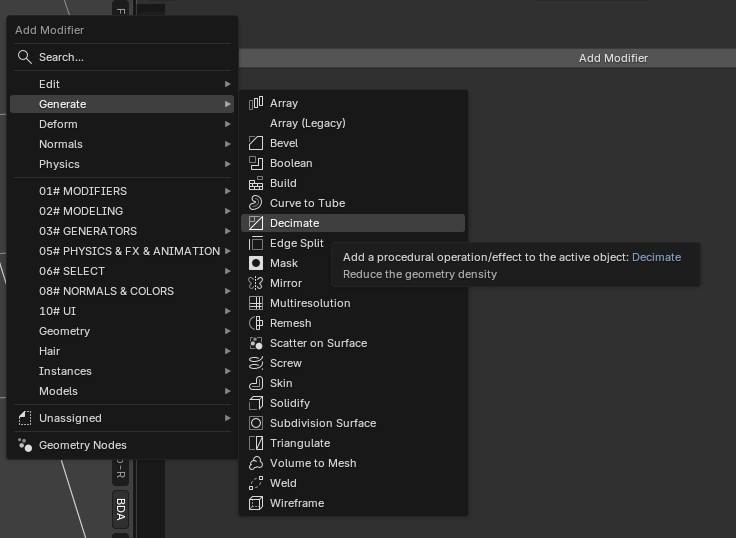
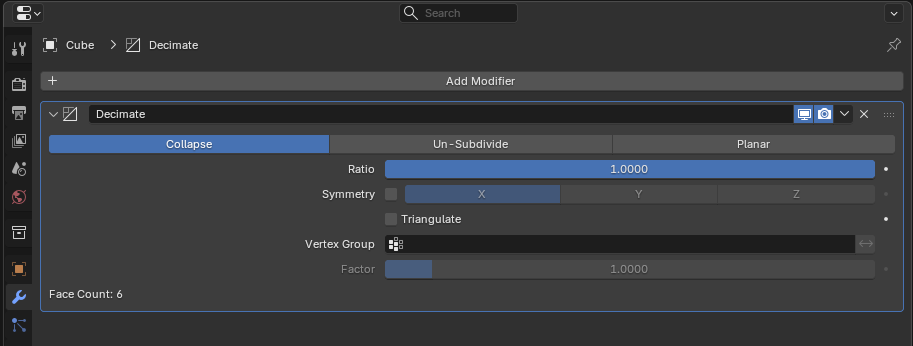
The Decimate modifier in Blender reduces a mesh's polygon (face/vertex) count while preserving its overall shape.

  • One tool to make it really easy is to use Nightvision's addon. You will find it in the Addons for Blender on this site. Using his one-button decimate is really simple — all you have to do is supply a number less than 1. For example, .5, .2, etc. This number must be less than 1 but not 0.
Nightvision's Blender to DA addon showing the Decimate button
Nightvision's addon — Decimate button
  • The second way is to use Blender's wrench which you find in the Properties box (far right). Click on the wrench, then click on the "+" symbol (the gray bar that says Add Modifier). You will get a pop up. Click on Generate and another menu will slide out. Then choose Decimate. When you do you will see a box like in the image. Same rule applies here — put in a number less than 1 but not less than 0. Once you do this you will apply your decimate by clicking on the down arrow and clicking Apply. This will apply it to your model.
Blender Properties panel showing the wrench icon and Add Modifier button
Click the wrench, then "Add Modifier"
Add Modifier menu with Generate expanded and Decimate highlighted
Choose Generate → Decimate
Decimate modifier panel with Ratio set to 1.0000
Set the Ratio to a number less than 1 (but not 0)
Modifier dropdown menu with Apply option
Click the down arrow → Apply
  • The Decimate Ratio controls how much of the original mesh is kept — a ratio of 0.5 keeps roughly 50% of the faces, while 0.2 keeps about 20%. For common props and furniture, a good starting range is 0.3–0.5. For simpler items like crates or barrels, you can go lower (0.2–0.3). Always check the result in Blender's viewport before exporting — if the silhouette looks noticeably different, raise the ratio a bit.

3. LOD (Level of Detail)

LOD in Blender is an optimization technique used primarily in game development to create multiple versions of a 3D model, ranging from high-poly to low-poly.

  • Level of Detail (LOD) is a means of finer control than Decimate.
  • LOD allows a finer method of removing tris (triangles), quads, and vertices.
  • The finer control allows you to take a high detail model (mesh) and reduce its poly count — thus reducing its overall file size.
  • As you can see from the image below, you can reduce the model's detail (hence level of detail). You can reduce a model's detail to a point where it does not quite resemble the original mesh.
  • Do not let this discourage you when you see a model that looks like the rabbit with 251 triangles. This is where you would take a high texture and apply it to a low poly model. This will make the low poly model look like the rabbit with over 69,000 triangles without the size of the high poly model.
Stanford bunny shown at four levels of detail: 69,451, 2,502, 251, and 76 triangles
The same model at different levels of detail — from 69,451 triangles down to 76.