Asmodeus LoungeHow-tos, documentation, images, and video tutorials for importing assets into Dungeon Alchemist from Blender correctly.
Basics
Getting started with Blender
Set up Blender, learn what every part of the interface does, and start navigating the 3D viewport with confidence.
Step-by-step
1
Download and install Blender
Grab the latest stable release from blender.org. Blender is free, open-source, and runs on Windows, macOS and Linux. The installer is around 300 MB.
2
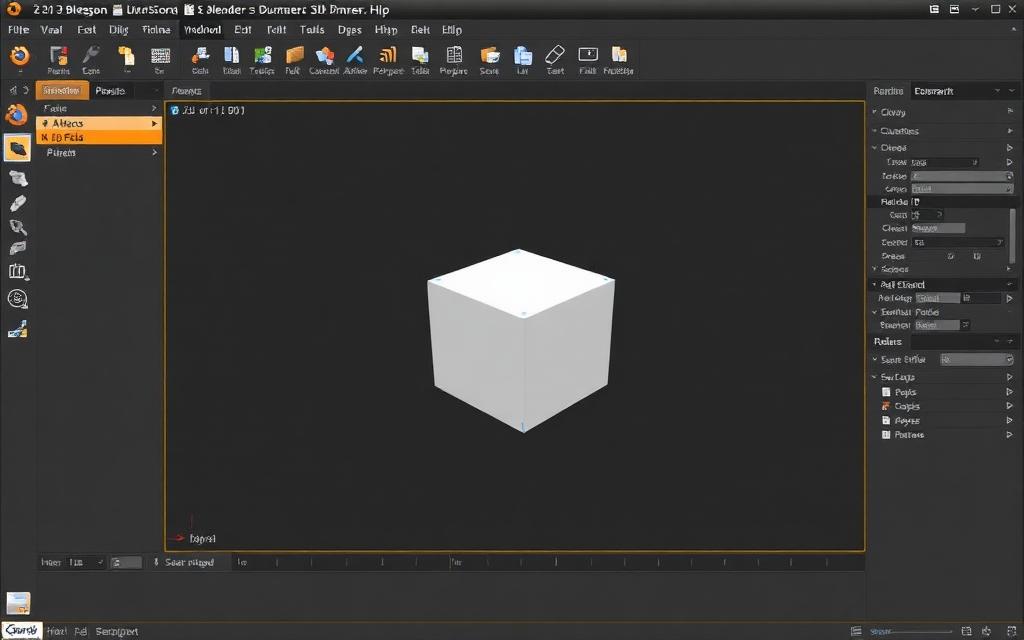
Understand the interface
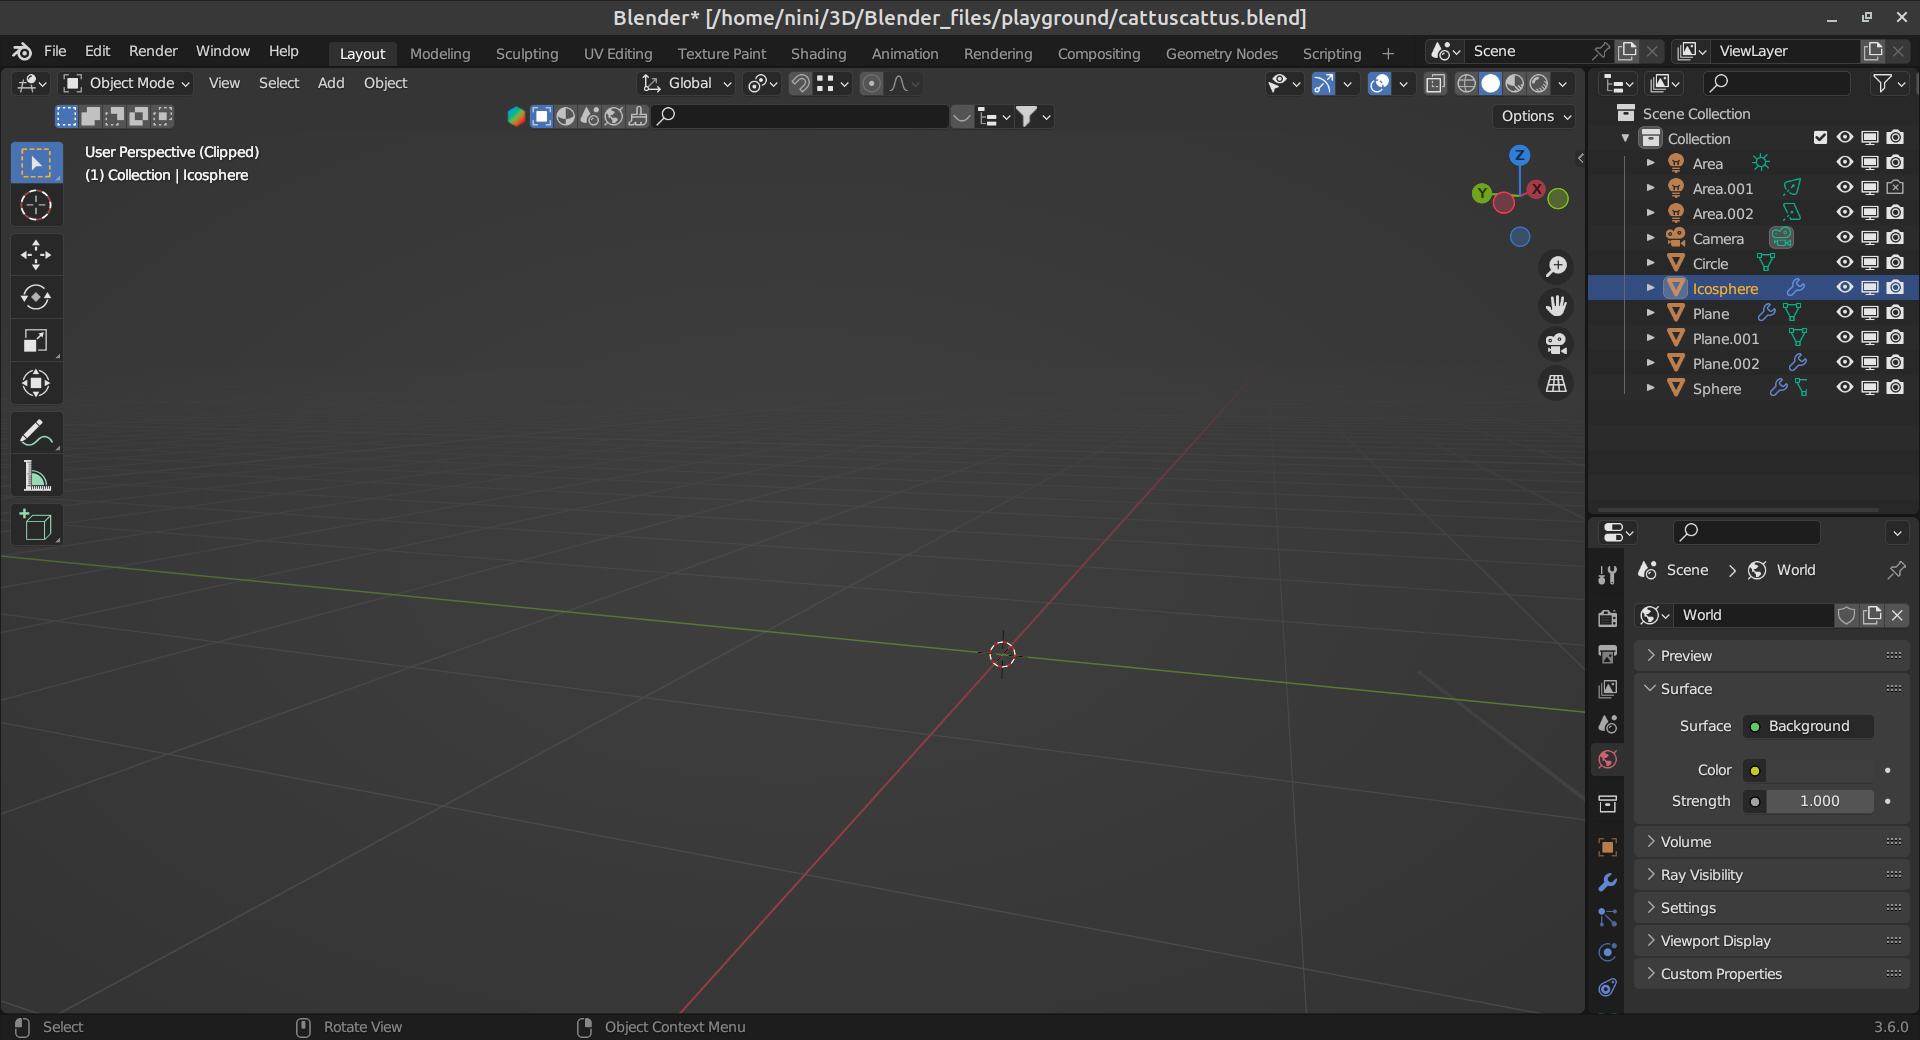
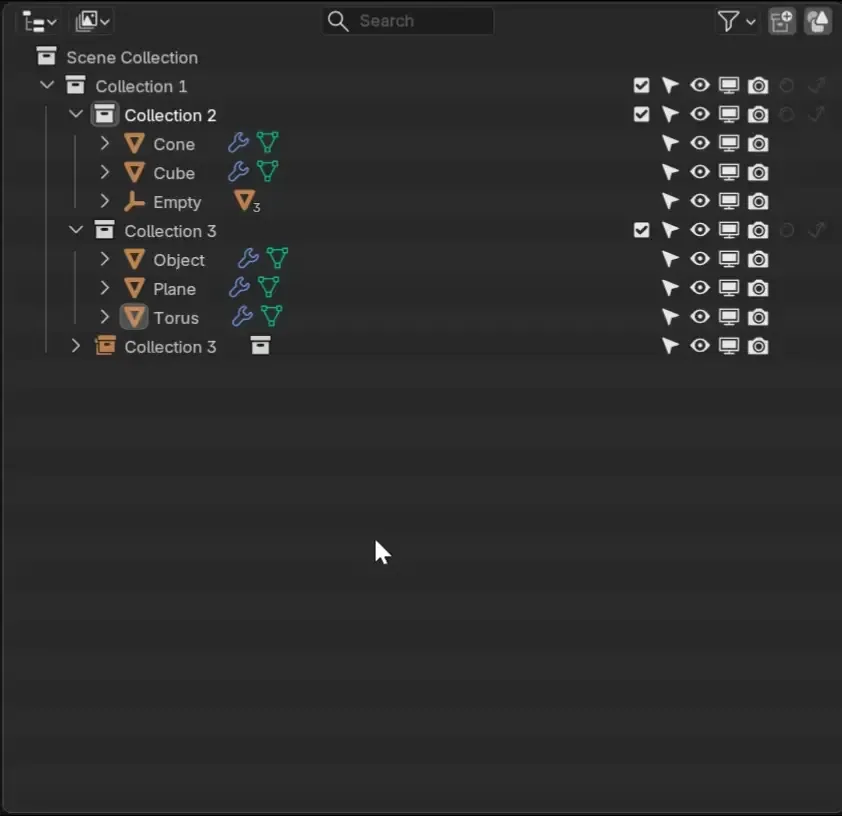
The default workspace contains the 3D Viewport (center), Outliner (top-right), Properties (bottom-right) and Timeline (bottom). Each editor can be split or swapped using the icon in its top-left corner.
3
Navigate the 3D viewport
Use middle-mouse-drag to orbit, Shift + MMB to pan, and scroll to zoom. The numpad gives you precise orthographic views (1 front, 3 side, 7 top).
4
Add and transform objects
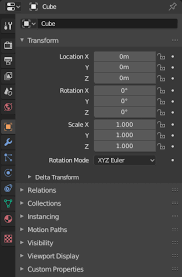
Shift + A opens the Add menu. Press G to grab, R to rotate, S to scale. Constrain to an axis by tapping X, Y or Z after pressing the transform key.
5
Save your file
Ctrl + S saves a .blend file. Use File → Save As (Shift + Ctrl + S) to create versioned backups while you learn.
Keyboard shortcuts
Keys
Action
Shift + A
Add new object
G / R / S
Grab, Rotate, Scale
Tab
Toggle Edit / Object mode
Numpad ./
Frame selected object
Ctrl + Z
Undo
Watch the tutorial
Pro tips
Enable 'Emulate Numpad' in Preferences if your keyboard has no numpad.
Turn on Auto Save in Preferences → Save & Load — set the timer to 2 minutes.
Use workspaces (top tabs) to switch quickly between Modeling, Sculpting and Shading layouts.