Sculpting
Digital sculpting basics
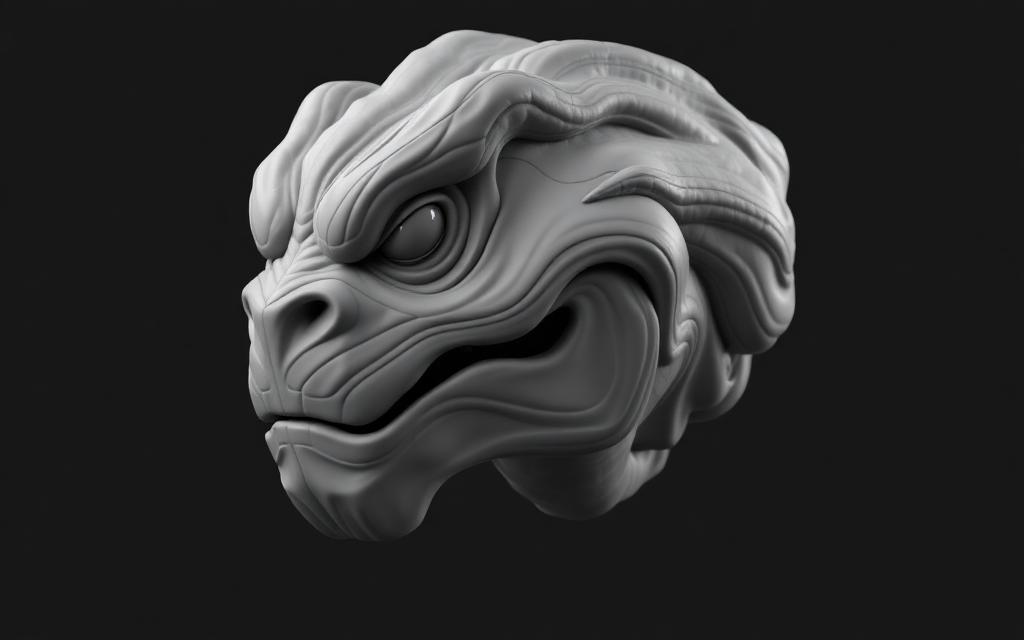
Use Blender's brushes to shape characters, creatures and props as if you were working with virtual clay.
Step-by-step
- 1
Enter Sculpt Mode
Select a mesh and switch the mode dropdown to Sculpt Mode. The toolbar on the left lists every brush — Draw, Clay Strips, Crease, Grab, Smooth and more. - 2
Enable Dynamic Topology
Press Ctrl + D to turn on Dyntopo. Blender now adds and removes polygons as you sculpt, so you never run out of resolution. Set 'Detail Size' lower for finer detail. - 3
Block out the form
Start with Clay Strips at a large radius to build broad volume. Hold Shift while sculpting to smooth. Don't worry about detail yet — focus on silhouette. - 4
Refine with smaller brushes
Lower the brush radius (F) and strength (Shift + F). Use Crease for hard wrinkles, Grab to reposition large areas, and Inflate to puff volume out. - 5
Add fine detail
Switch to a Standard brush with Alpha textures for skin pores or scales. Use the Mask brush (M) to protect areas you don't want to disturb.
Keyboard shortcuts
| Keys | Action |
|---|---|
F | Adjust brush radius |
Shift + F | Adjust brush strength |
Ctrl | Invert brush (carve instead of build) |
Shift | Smooth brush (temporary) |
M | Mask brush |
Alt + M | Clear mask |
Watch the tutorial
Pro tips
- Use a graphics tablet — pen pressure makes sculpting dramatically easier.
- Save versions (Ctrl + Alt + S to save as) as you progress. Sculpts can crash heavy scenes.
- Use the Remesh button (Ctrl + R) periodically to even out topology while blocking out forms.