Lighting
Lighting your scene in Blender
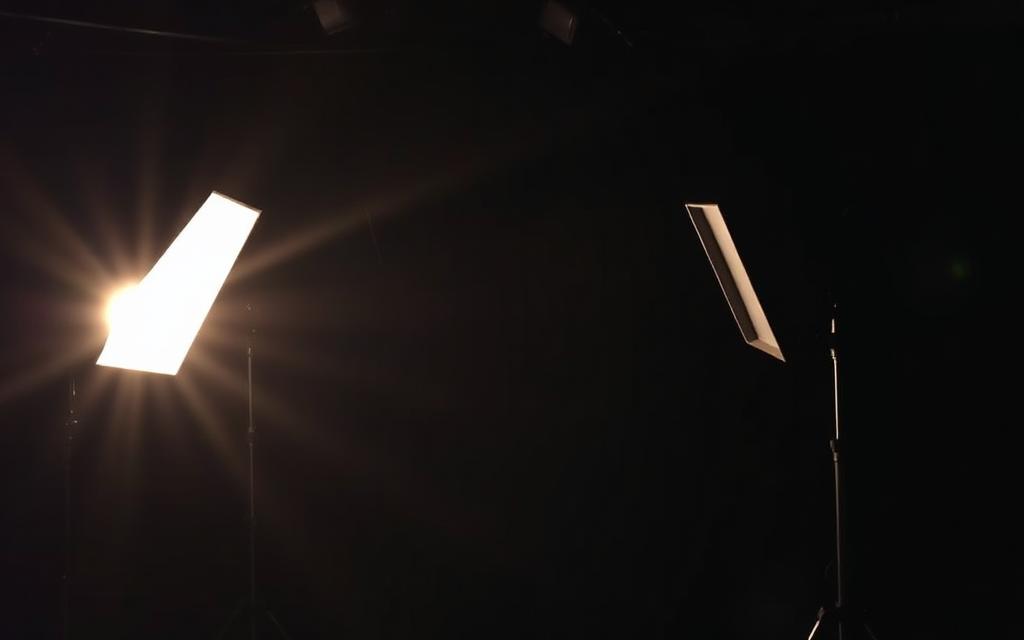
Shape mood, depth and focus with Blender's lights, HDRIs and emissive materials — the foundation of any great render.
Step-by-step
- 1
Add a light
Press Shift + A → Light, then choose Point, Sun, Spot or Area. Area lights are the workhorse for most scenes — larger area = softer shadows. - 2
Set up a key light
Place your strongest light off-axis from the camera (about 30–45°) and slightly above the subject. This defines the main shape and shadow direction. - 3
Add fill and rim lights
A dim fill light on the opposite side softens harsh shadows. A rim light from behind separates the subject from the background and adds a cinematic edge. - 4
Use an HDRI for ambient light
In World Properties, switch Color to 'Environment Texture' and load an HDR. HDRIs provide realistic global lighting and reflections in one step. - 5
Tune color and intensity
Adjust Power (watts) and Color on each light. Cool blues for moonlight, warm oranges for firelight — color contrast between key and fill sells the mood. - 6
Preview with Rendered shading
Press Z → 8 (or click the rightmost shading sphere) to see lighting update in real time. Iterate quickly before committing to a full render.
Keyboard shortcuts
| Keys | Action |
|---|---|
Shift + A | Add menu (lights, mesh, etc.) |
Z → 8 | Switch viewport to Rendered shading |
G | Move selected light |
R | Rotate selected light (Sun/Spot direction) |
N | Toggle properties panel to fine-tune values |
Watch the tutorial
Pro tips
- Less is more — start with one key light, then add fill and rim only when needed.
- Use an HDRI at low strength as base lighting, then layer hero lights on top for control.
- Emissive materials (Principled BSDF → Emission) double as practical lights — perfect for neon, screens and lanterns.
- Enable 'Light Paths → Max Bounces' tweaks in Cycles for faster renders with dim secondary lighting.