Rendering
Lighting & rendering final images
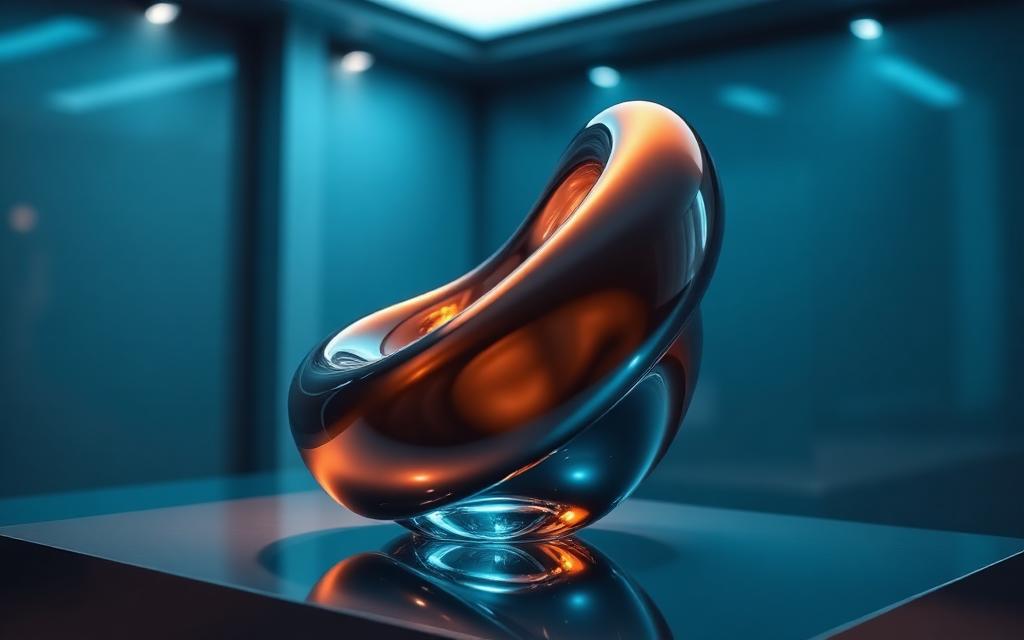
Choose the right render engine, light your scene, and export polished still images or sequences.
Step-by-step
- 1
Pick a render engine
Cycles is a path tracer — physically accurate, slower, perfect for stills. Eevee is real-time rasterization — fast, great for animations and viewport-style looks. Set it in Render Properties. - 2
Light the scene
Add an Area light (Shift + A → Light → Area) as your key light. Bigger area lights produce softer shadows. Add a smaller, dimmer rim light from behind to separate the subject from the background. - 3
Use an HDRI
In World Properties, switch Color to 'Environment Texture' and load an HDR file. HDRIs provide free, realistic lighting and reflections in one click. - 4
Set output and resolution
In Output Properties choose resolution (1920×1080 for HD), file format (PNG for stills, EXR for compositing) and the output folder. Increase samples in Render Properties for cleaner Cycles results. - 5
Render!
Press F12 for a still or Ctrl + F12 for an animation. Save the image with F3 from the render window. Use the Compositor to add bloom, color grading and lens distortion as a final polish.
Keyboard shortcuts
| Keys | Action |
|---|---|
F12 | Render still image |
Ctrl + F12 | Render animation |
F3 | Save rendered image |
Z → 8 | Switch viewport to Rendered shading |
Watch the tutorial
Pro tips
- Enable GPU rendering (Preferences → System → Cycles → CUDA / OptiX / HIP / Metal) for big speedups.
- Use the Denoise option in Render Properties — it lets you render with far fewer samples.
- Render to PNG sequences instead of MP4 — if Blender crashes mid-render, you don't lose all the frames.